Music Box
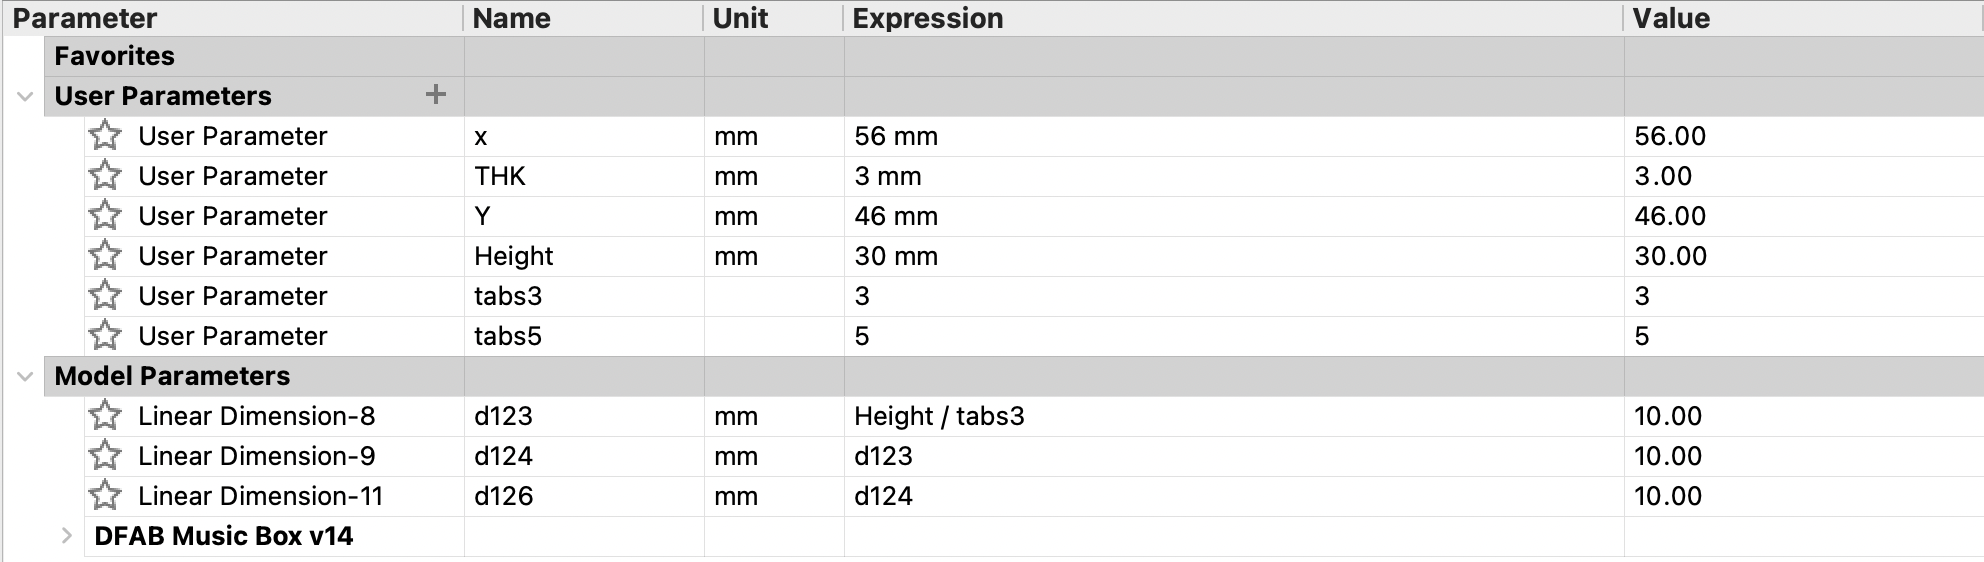
The first thing I did was to set parameters so that if I need to change the size and measurement of the box along the 3D designing process, it would be much easier. I set parameters for the length (x), width (Y), height (Height), as well as the thickness of the wood (THK). The wood I'm using is 3mm thick. I also set parameters for the number of tabs I intended there to be on the sides of the pieces so that I can change them if I want to and also make it easier for me to figure out the length of the tabs and spaces in between.
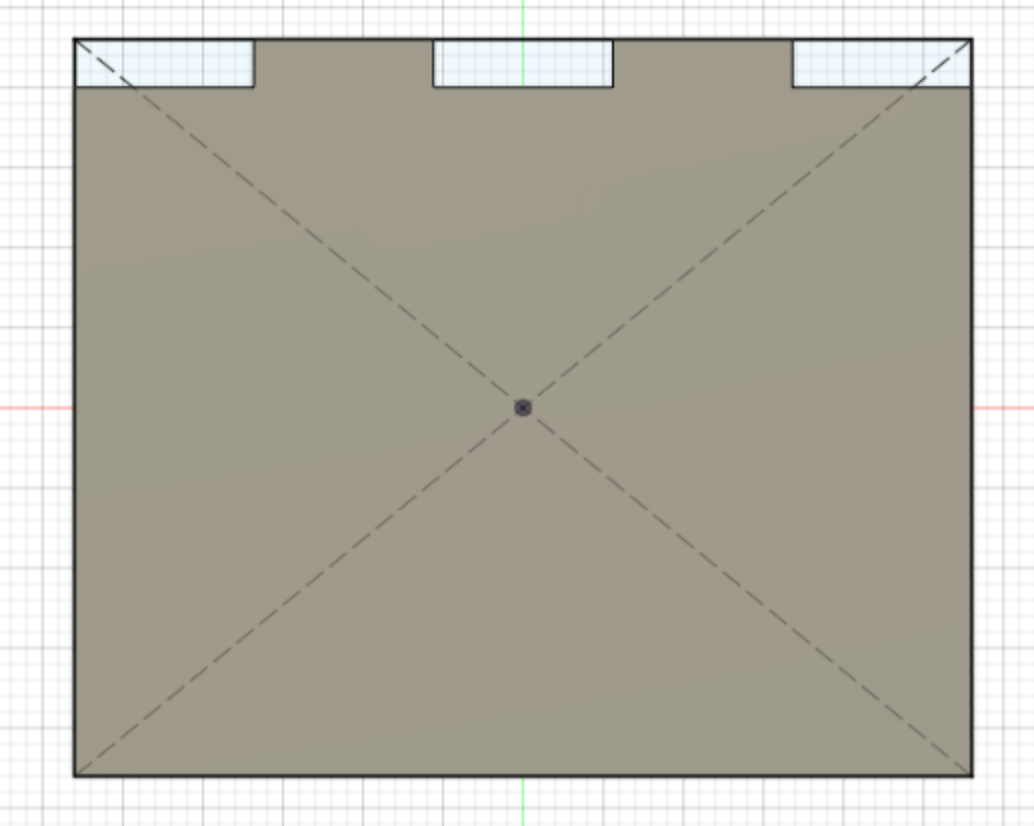
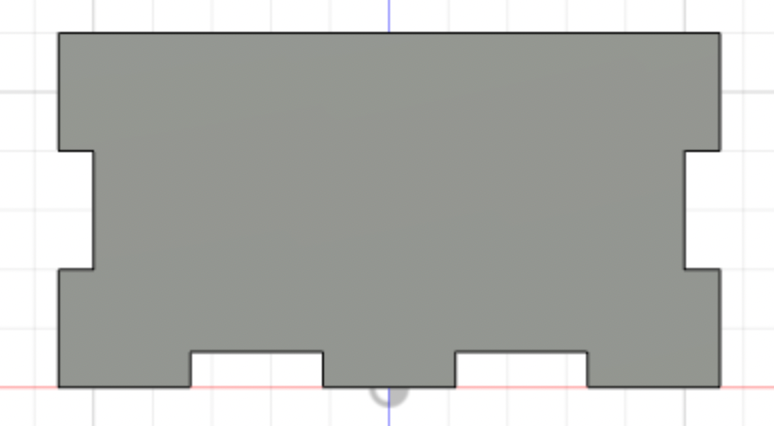
I started with the base of the box. I created a sketch of a rectangle using the parameters I set for length and width. Then, I extruded it by 3mm and created another sketch for the tabs. I wanted 5 tabs along the length of the base and 3 tabs along the width. So I sketched 2 rectangles with a width of 3mm, or THK, and set the length as 'x/tabs5'. This would automatically ensure that every tab is the same length. I did the same with all of the sketch dimensions of each tab. Then I selected the tabs I wanted to cut and extruded them away.
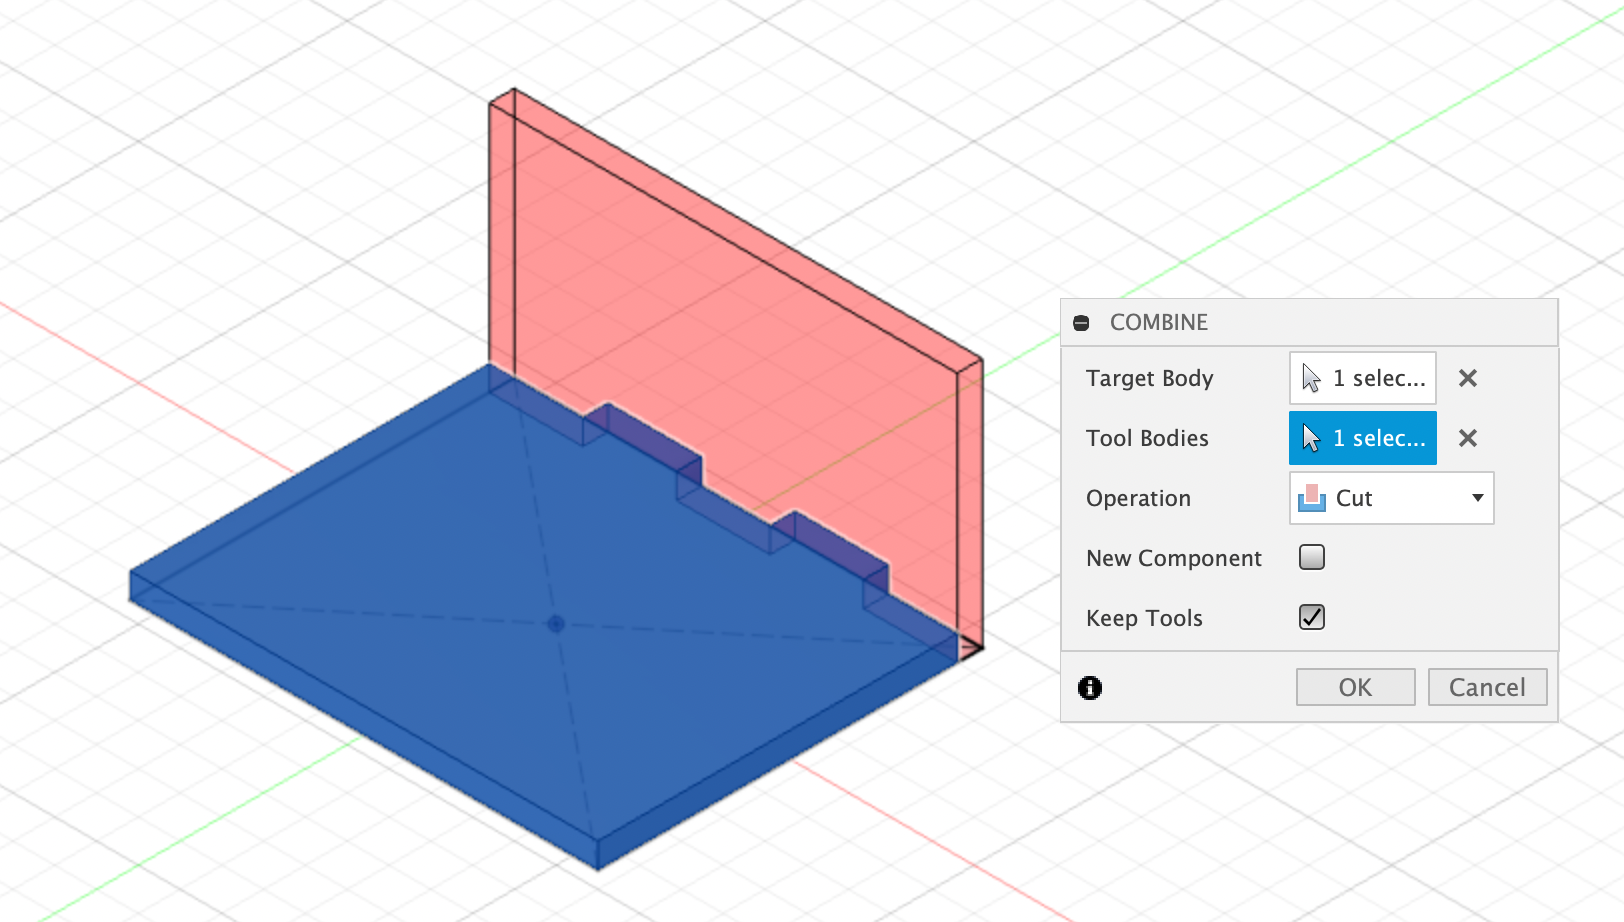
Now that my base had tabs along one side, I created another sketch for the back of the box. Again, I used the parameters, this time for the length and height to create a rectangle. Then I extruded it and used the base as a tool to cut the tabs into the back piece.
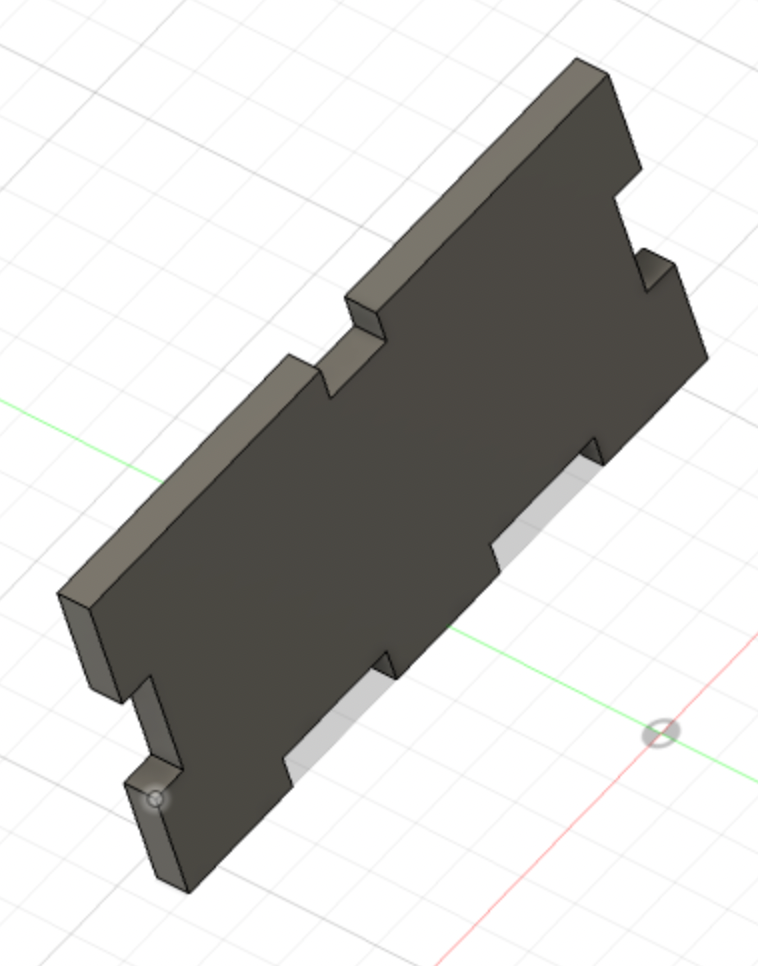
I created tabs on the sides of the back piece using the parameters and extruded them away, completing my back piece.
Since the front piece is the same as the back piece except for the latch, I just copied and moved it to where I wanted the front to be positioned using the 'point to point' function. I then used the front piece to cut tabs into the base piece. For the latch on the front piece, I initially wanted a sort of semicircle piece that could be lifted up... but I eventually realised that the laser cutter machine wouldn't be able to do what I wanted so I discarded the idea and changed it to a simple rectangular tab. For both versions, I created a sketch of the tab/latch that I wanted on the top piece, extruded it, and used it to cut into the front piece.

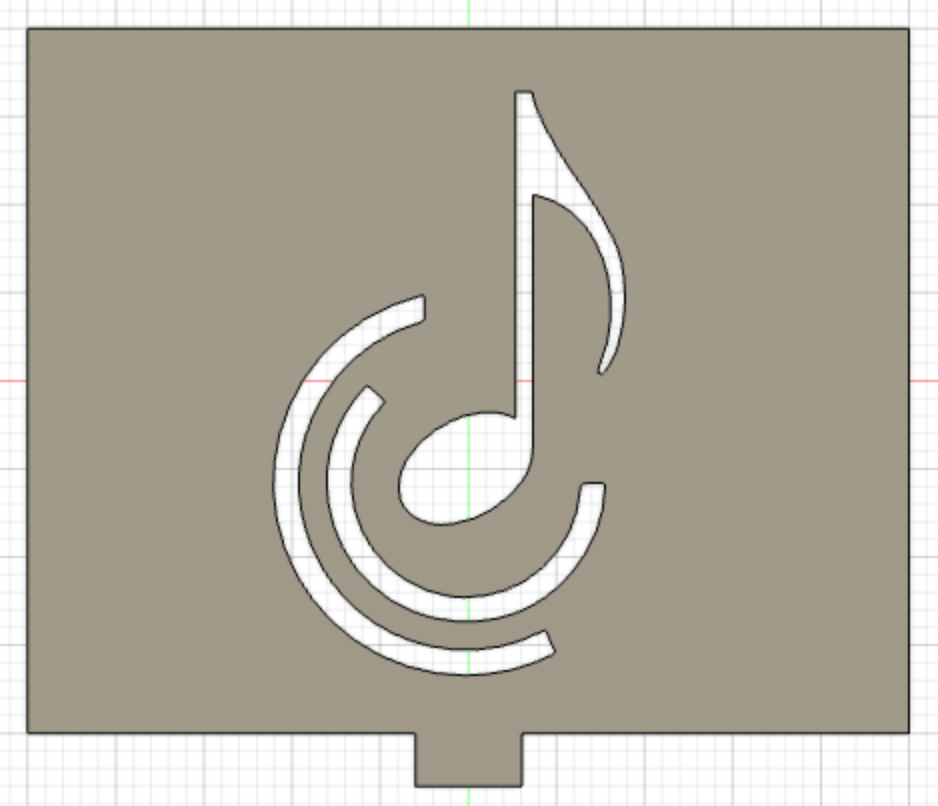
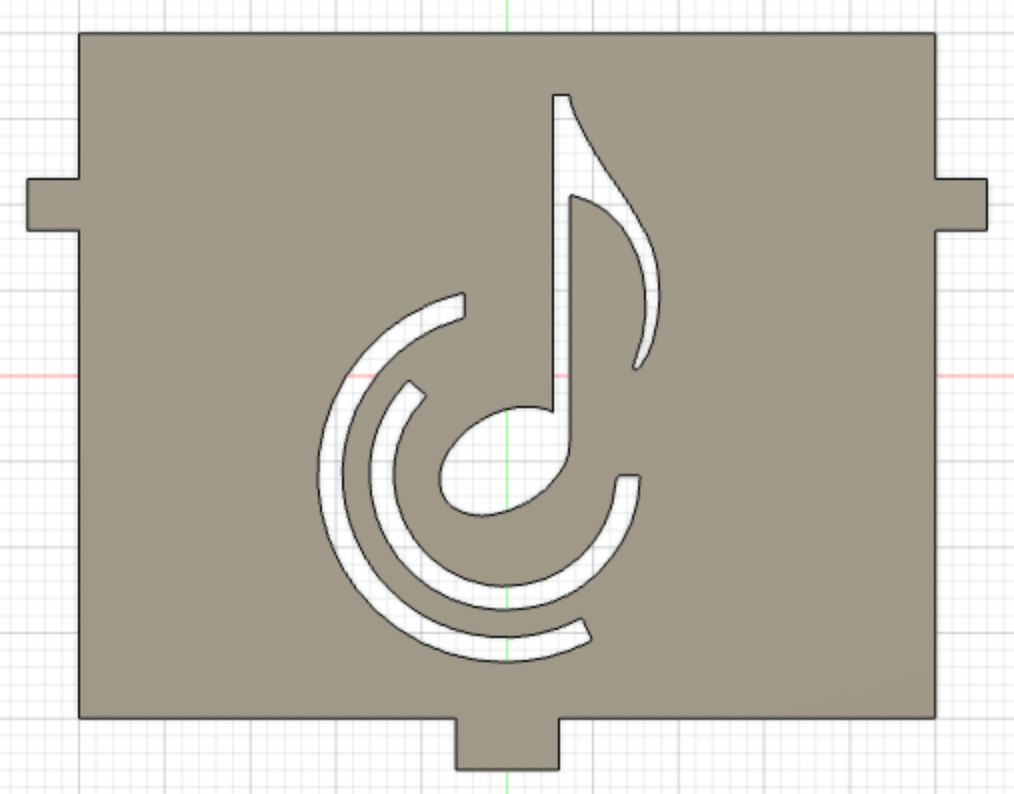
The top piece was just a rectangle measuring 50mm by 40 mm (the length/width of the box with the thickness of the pieces on both sides subtracted away). I designed a pattern on Adobe Illustrator and imported it into Fusion 360 in svg format, positioned it to where I wanted it to be on the top piece and extruded the design away since I wanted the design to be cut into the wood instead of engraved.

I followed the same process of creating the right piece as when I created the base piece. However, I also had to design a mechanism for a hinge so that the top could be lifted. To do this, I sketched out two circles, with a diameter of 5mm and 8mm respectively, then extruded the pieces I needed out. Then I copied and moved the right piece to where the left piece would be. I also made sure that all the tabs were cut on every piece.
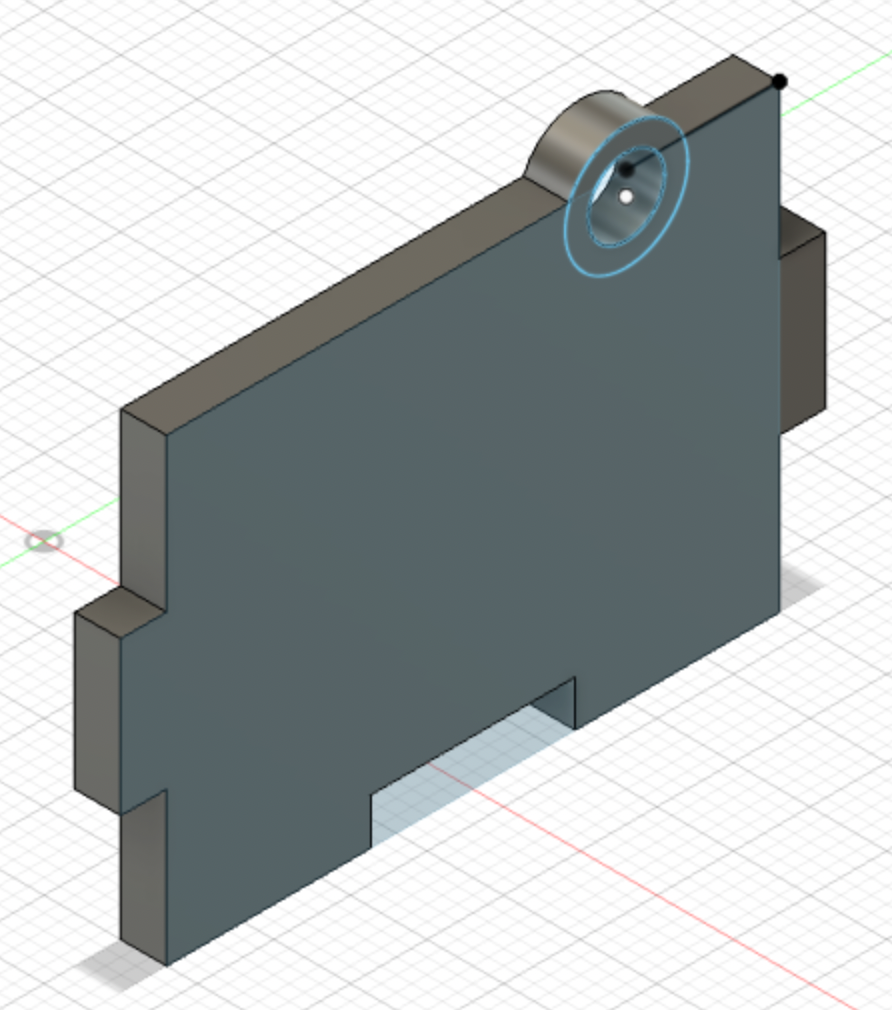
To create a hinge for the top piece, I created two new tabs on both sides of the top piece that would fit into the hole in the side pieces.
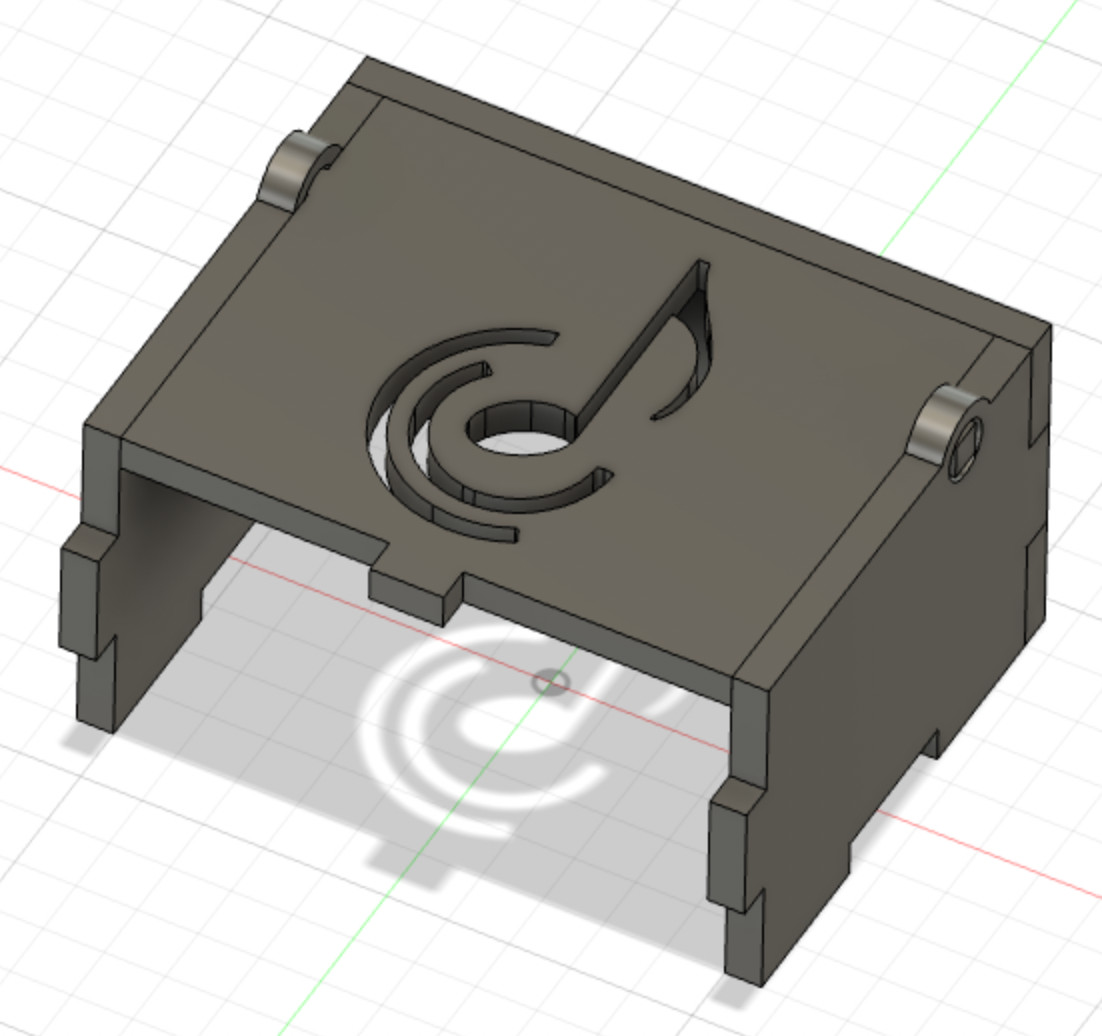
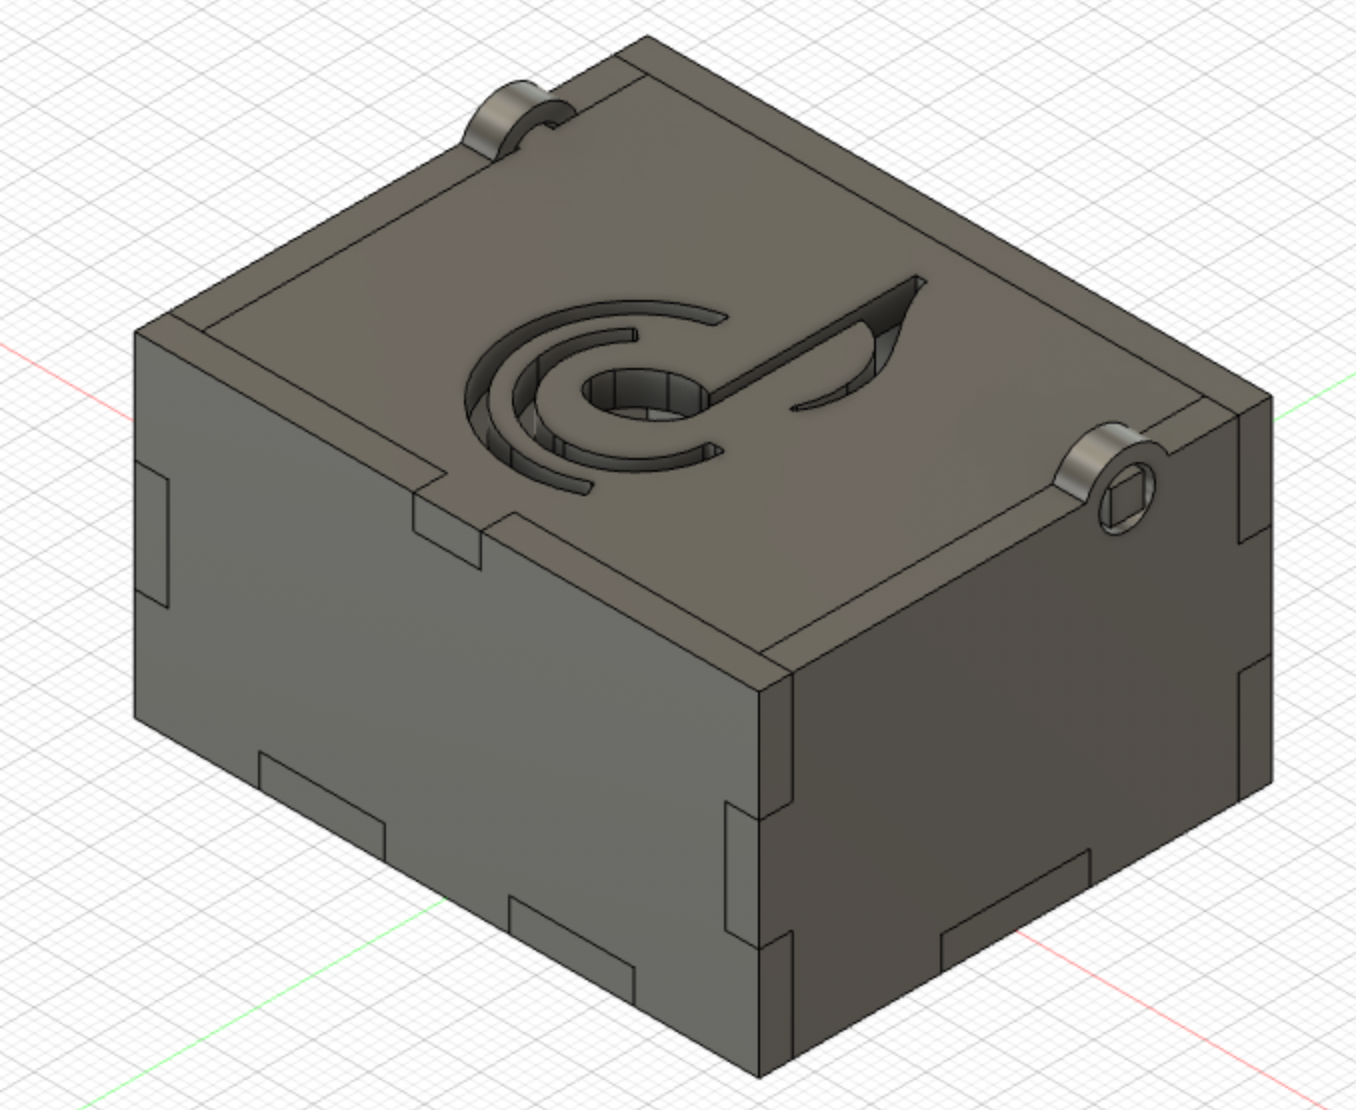
Thus, I completed the 3D design for my music box!
I had to export every piece as a dxf, import it into Adobe Illutrator and double check the measurements to make sure that it was the same as in Fusion 360. Once the measurements were correct, I could already print them out with the laser cutter machine. However, I also wanted an engraving of my initials to be on the base of the box, so I designed it in Adobe Illustrator again and moved it to where I wanted it to be on the base piece.

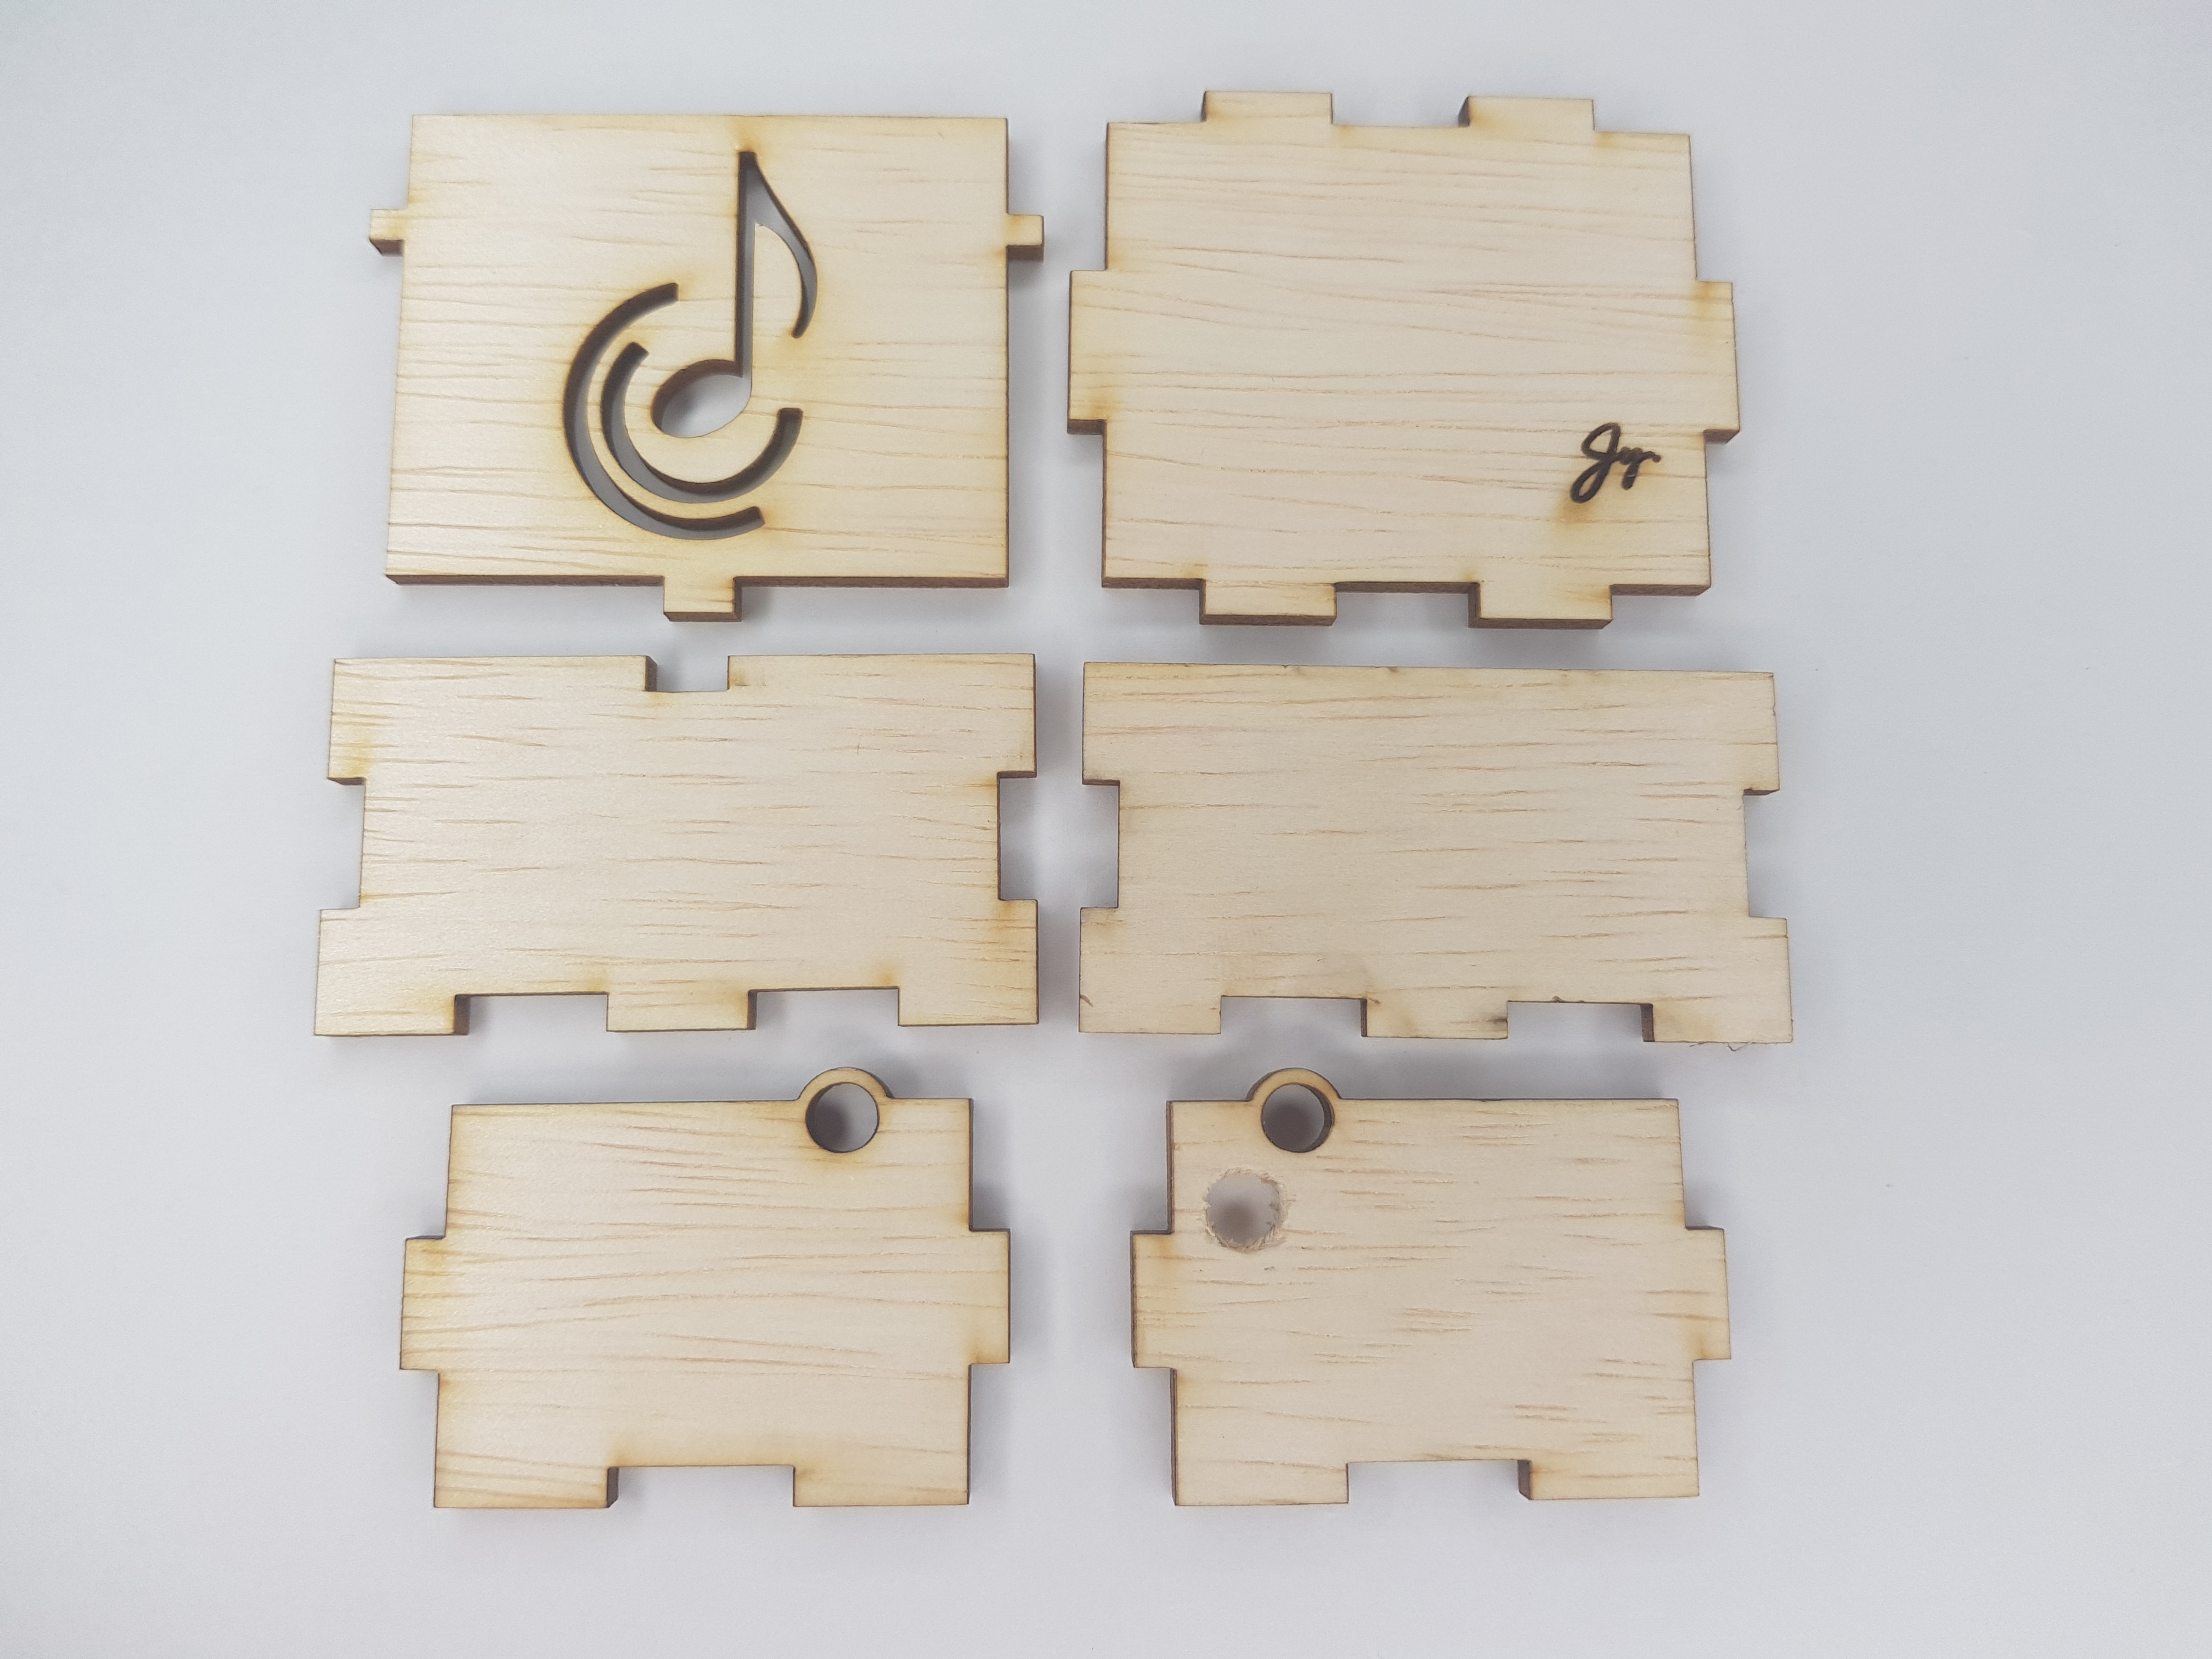
I exported everything as an svg, and configured it in CorelDraw. Then I sent it to the laser cutter to be printed. You might have noticed that I didn't include a hole for the handle of the music box to fit in. That's because I was afraid my measurements would be off and the handle wouldn't be able to fit into the hole, especially since I designed my box to be pretty compact so the mechanism for the actual music would fit inside as snugly as possible. So after all my pieces were printed, I compared the pieces with the mechanism and marked where the hole would go, then manually drilled a hole into the right piece so that the handle would fit in perfectly. Here are the finished pieces!
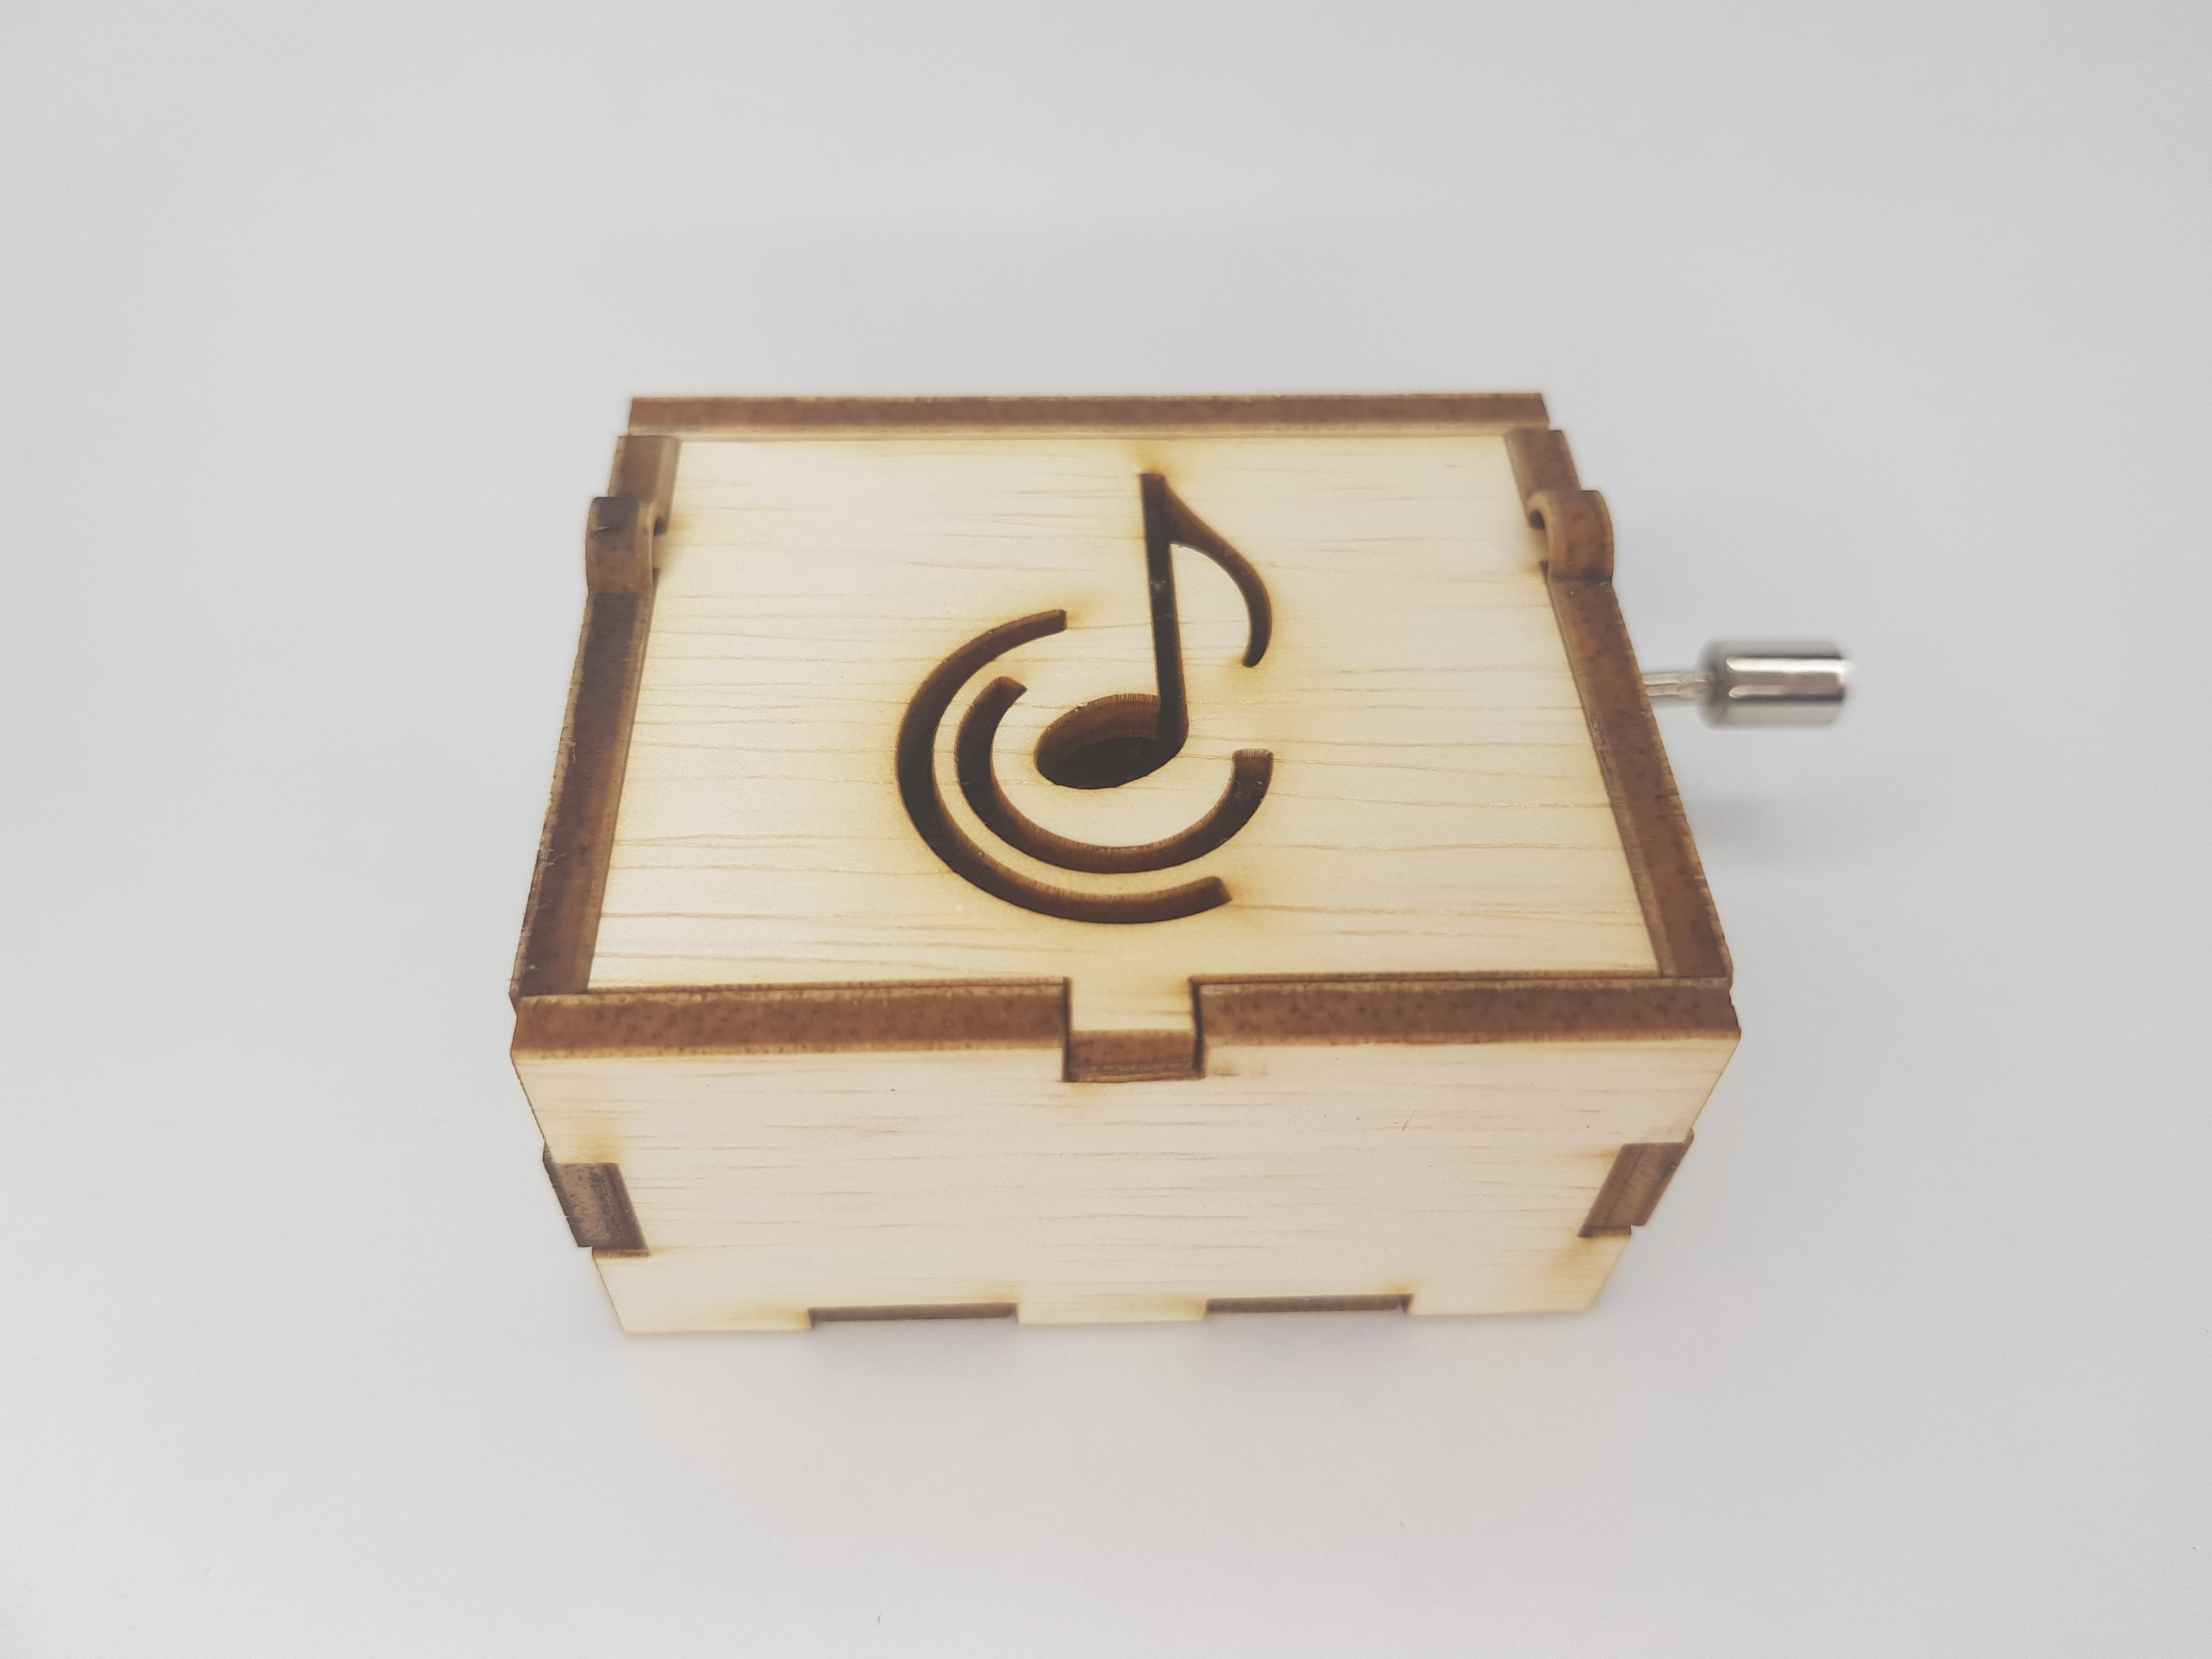
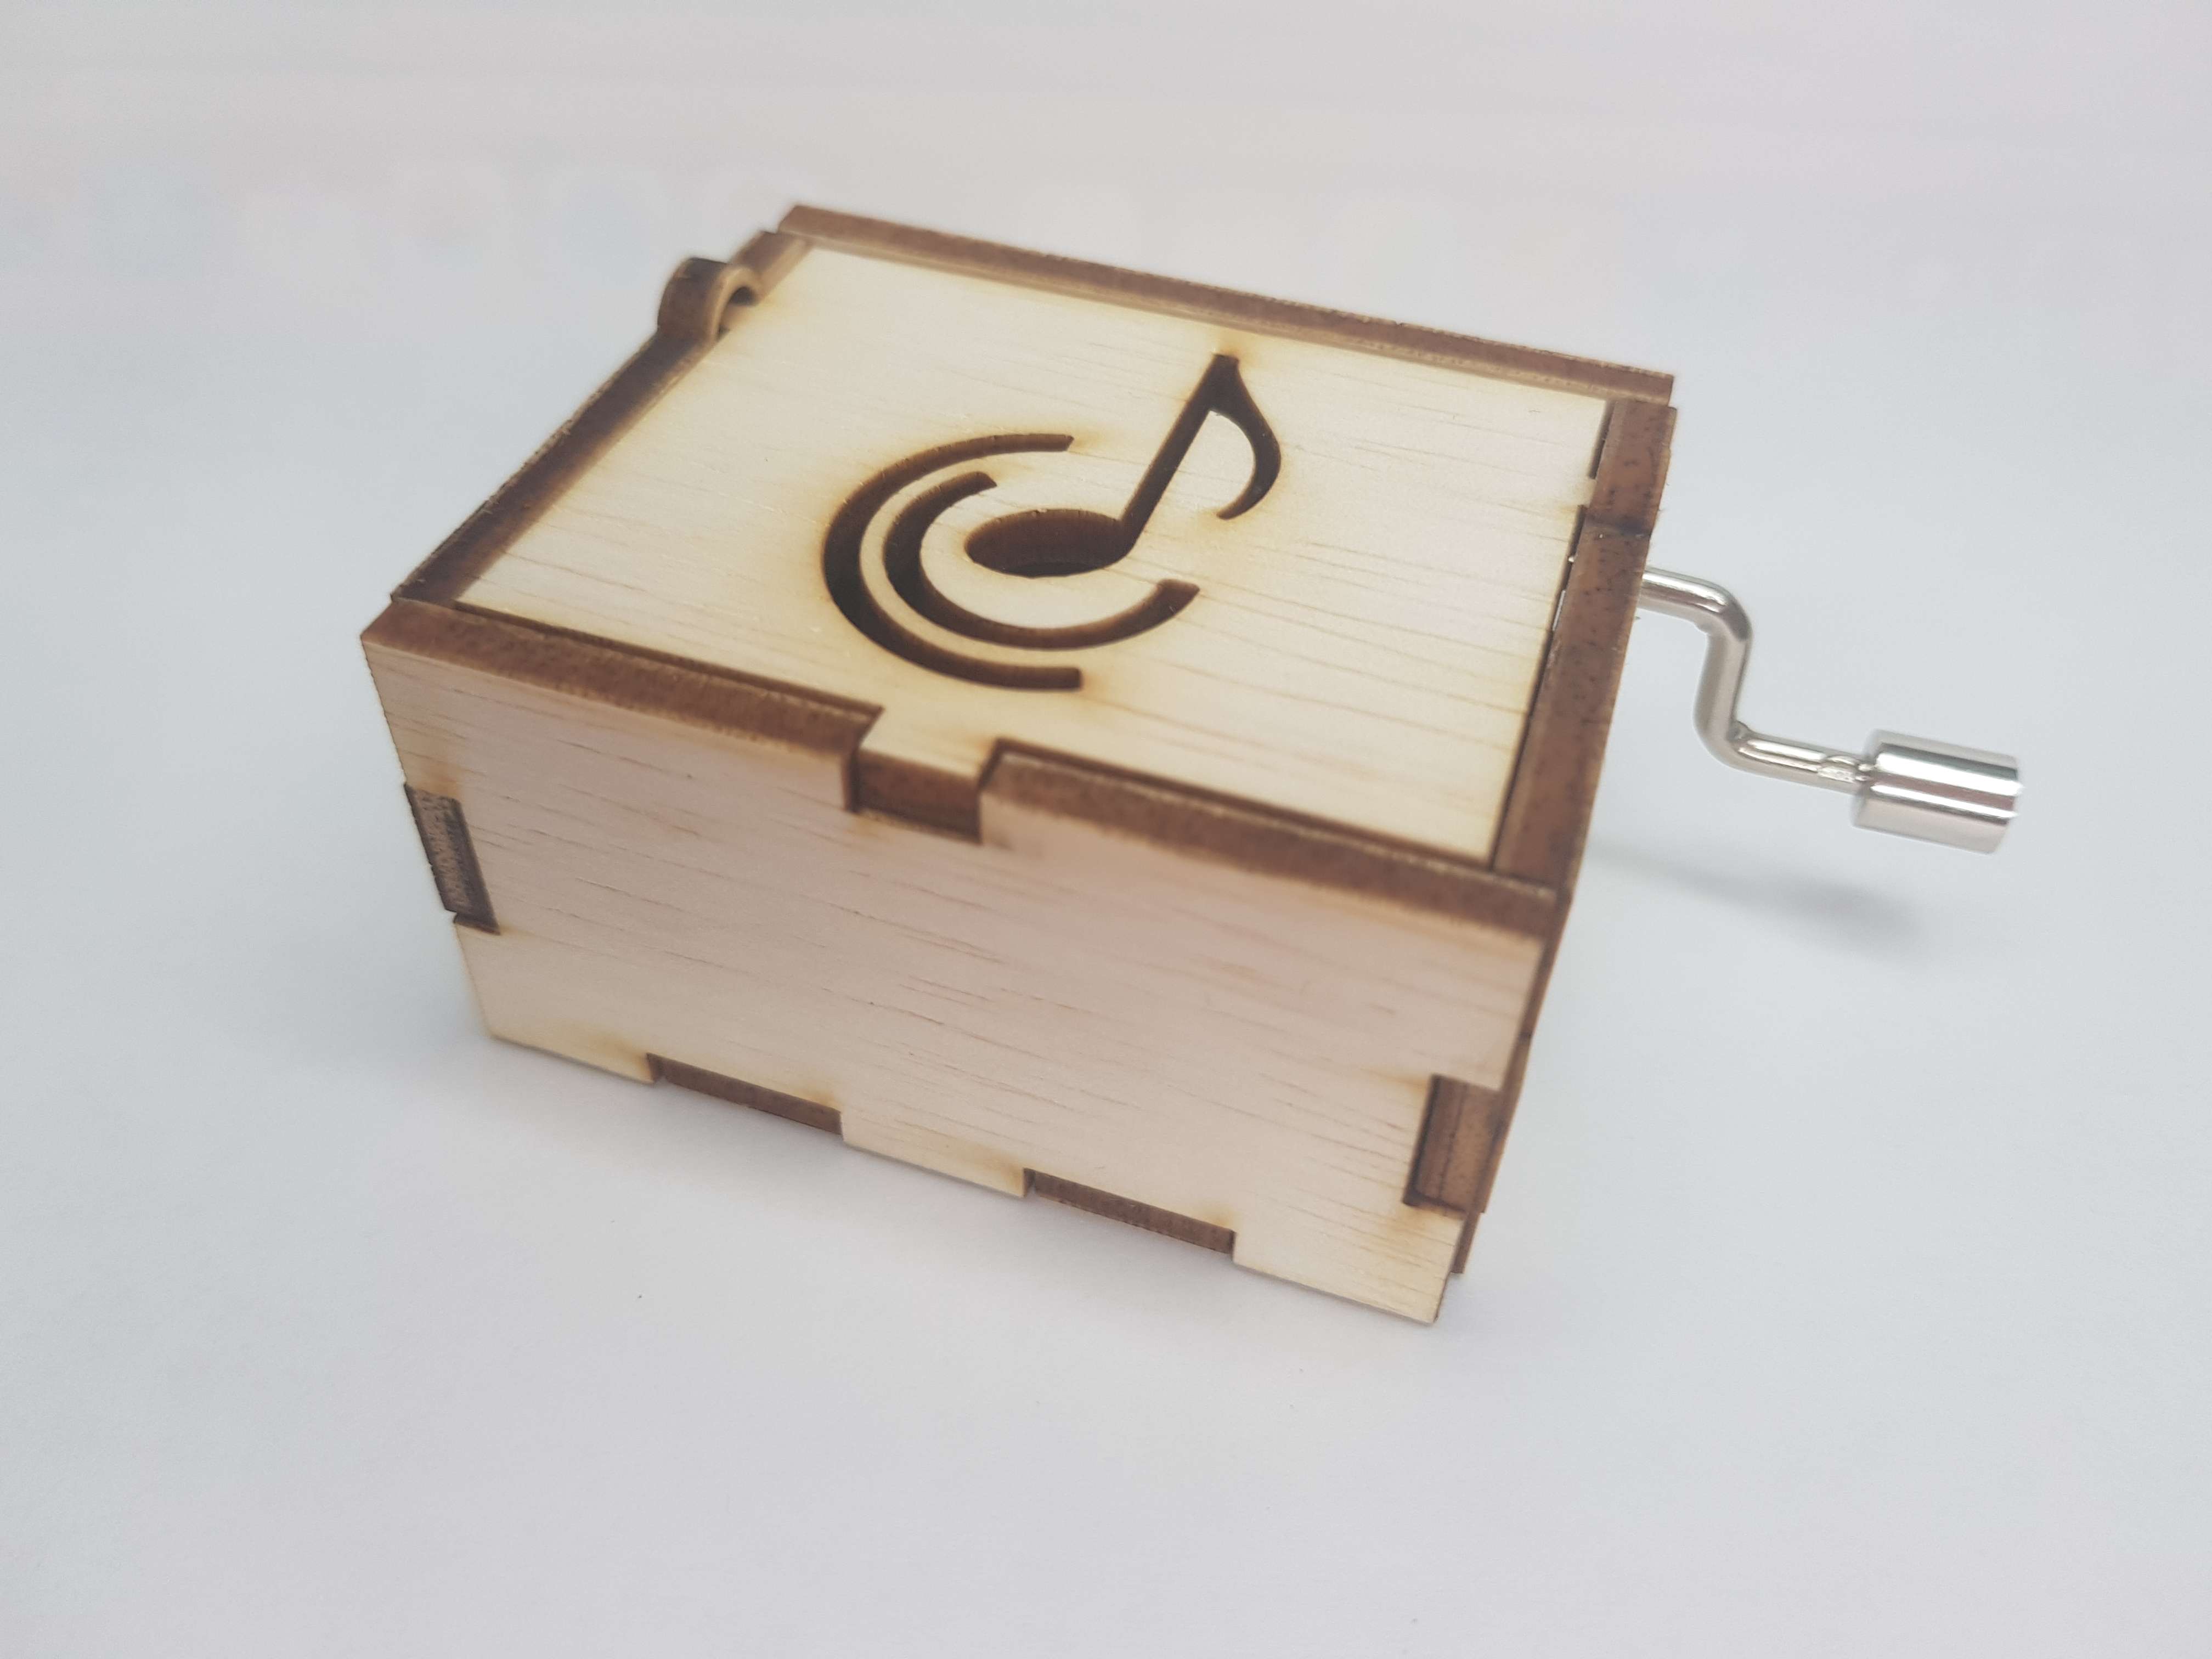
And here is the assembled and completed music box!