Knight Chess Piece
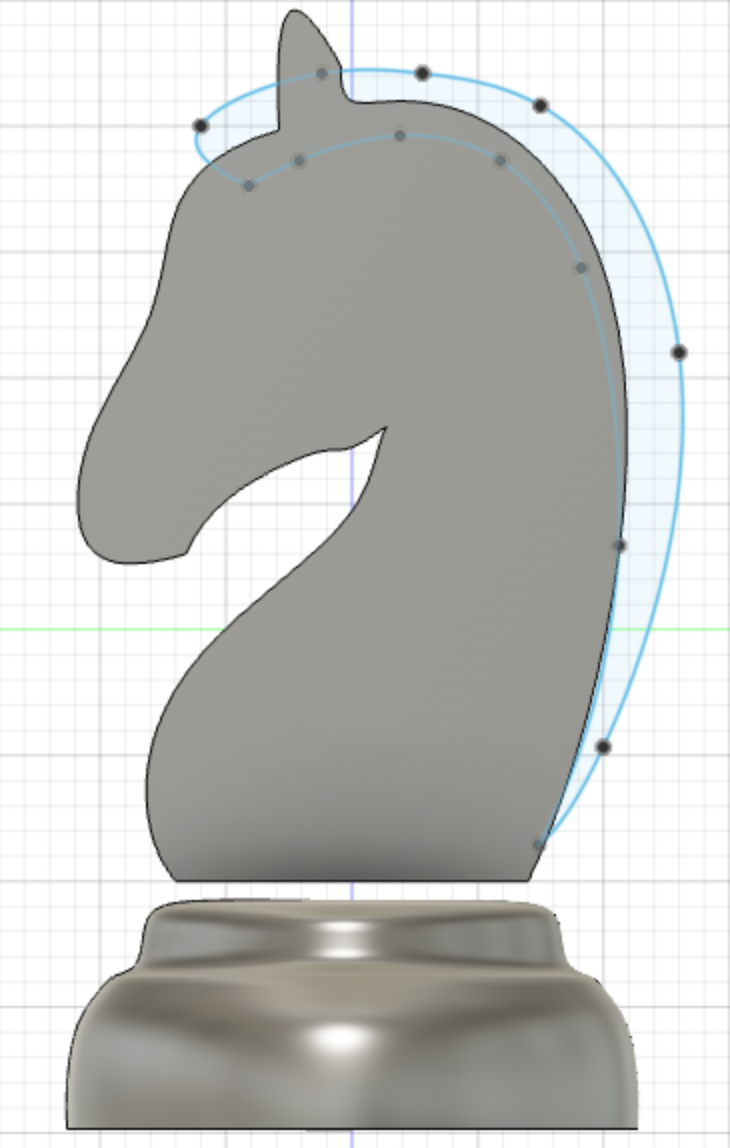
I started by first finding a relatively simple silhouette of a knight chess piece on the internet. Then I imported it into Fusion360 as a canvas and traced its outline. There are two components to the chess piece; the horse itself and the base of the piece. To create the foundation of the piece, I had two seperate outlines.
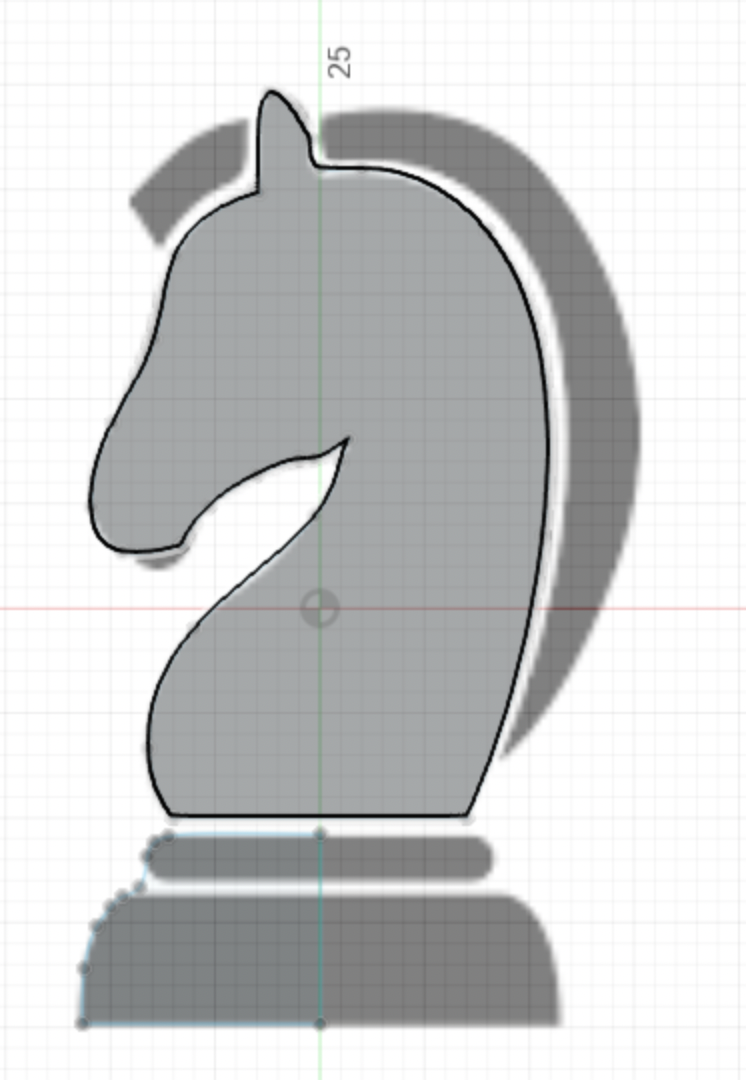
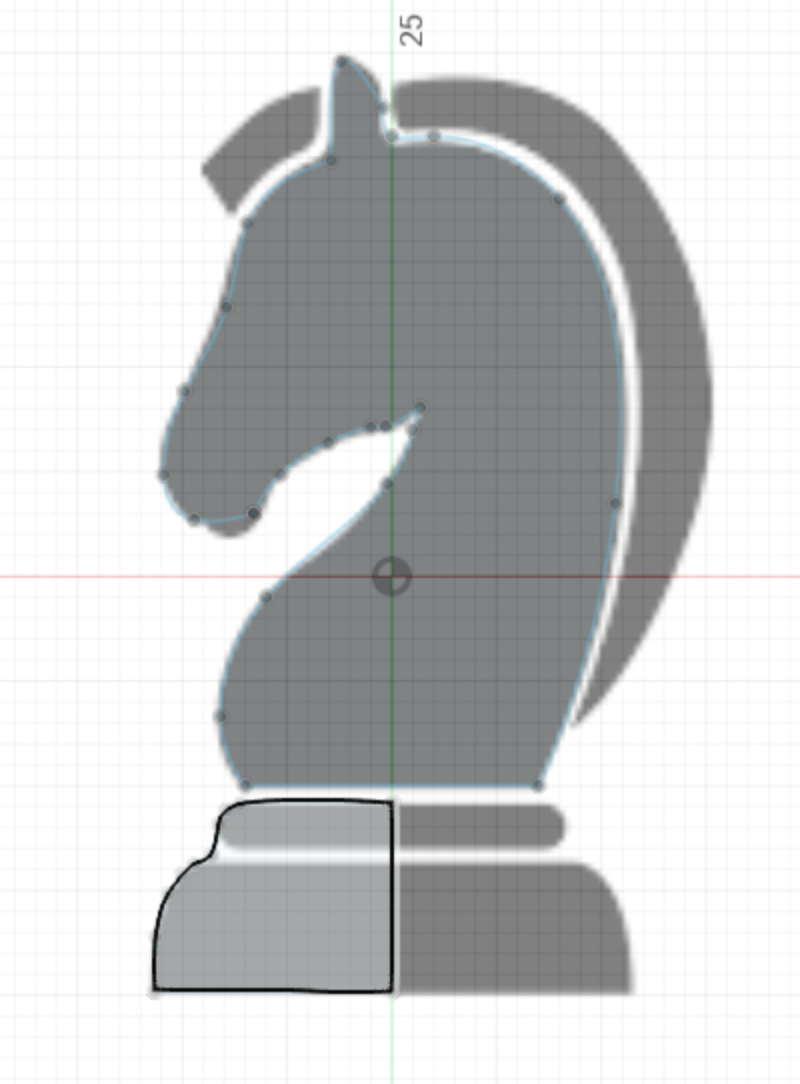
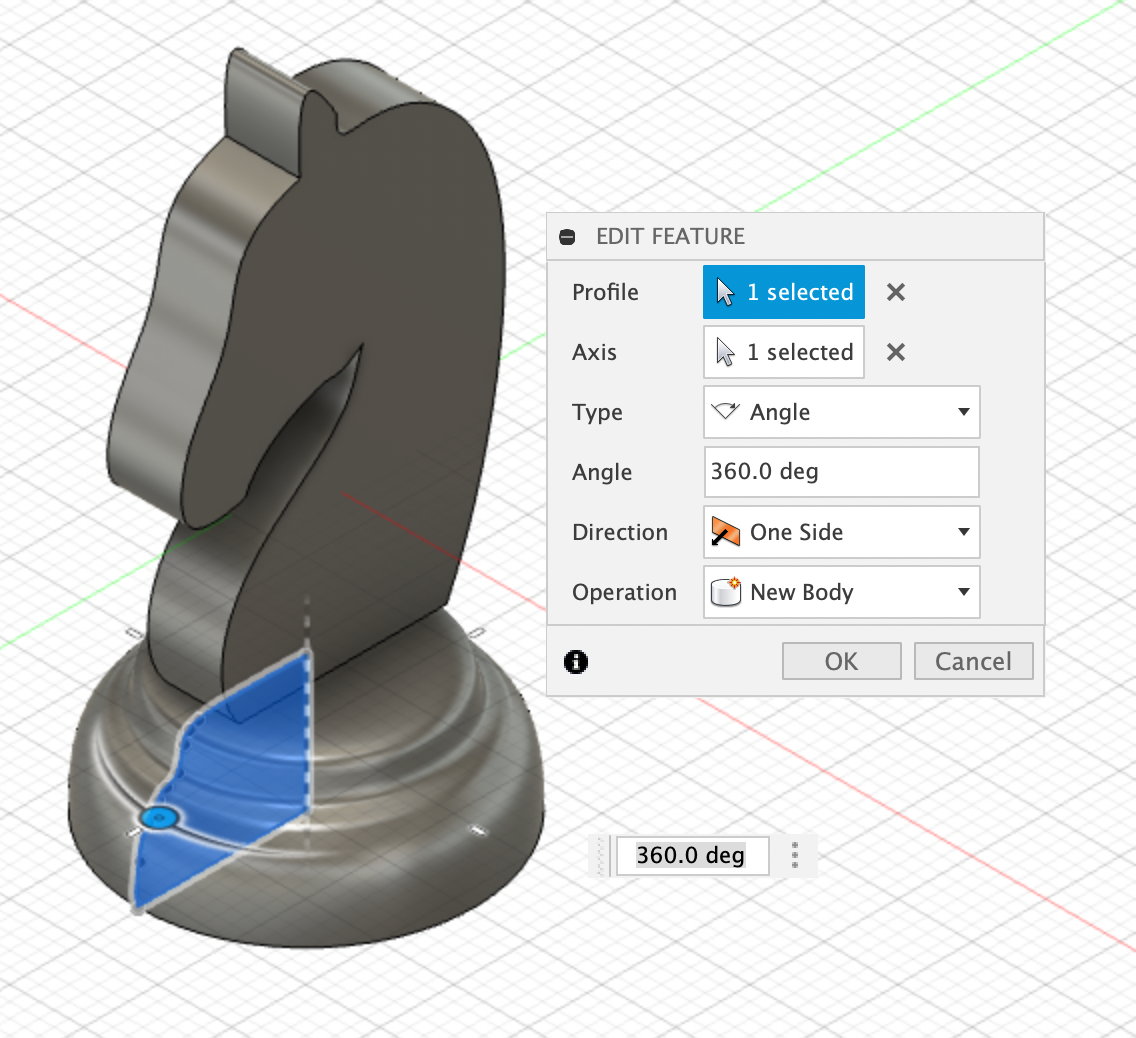
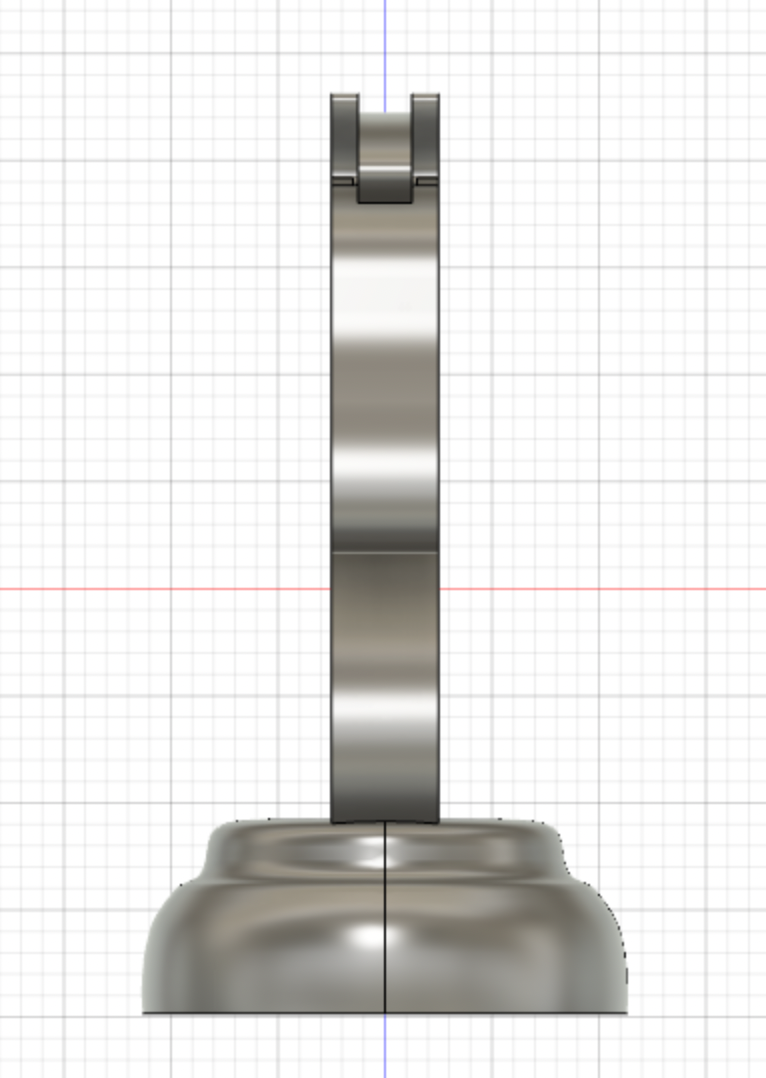
I extruded the top tracing by 2.5mm on both sides to create the basic structure of a horse. For the base, I split the tracing of the base down the middle, then revolved it by 360º. Then I simply merged both bodies together into one, which gave me the rough shape of a knight chess piece.
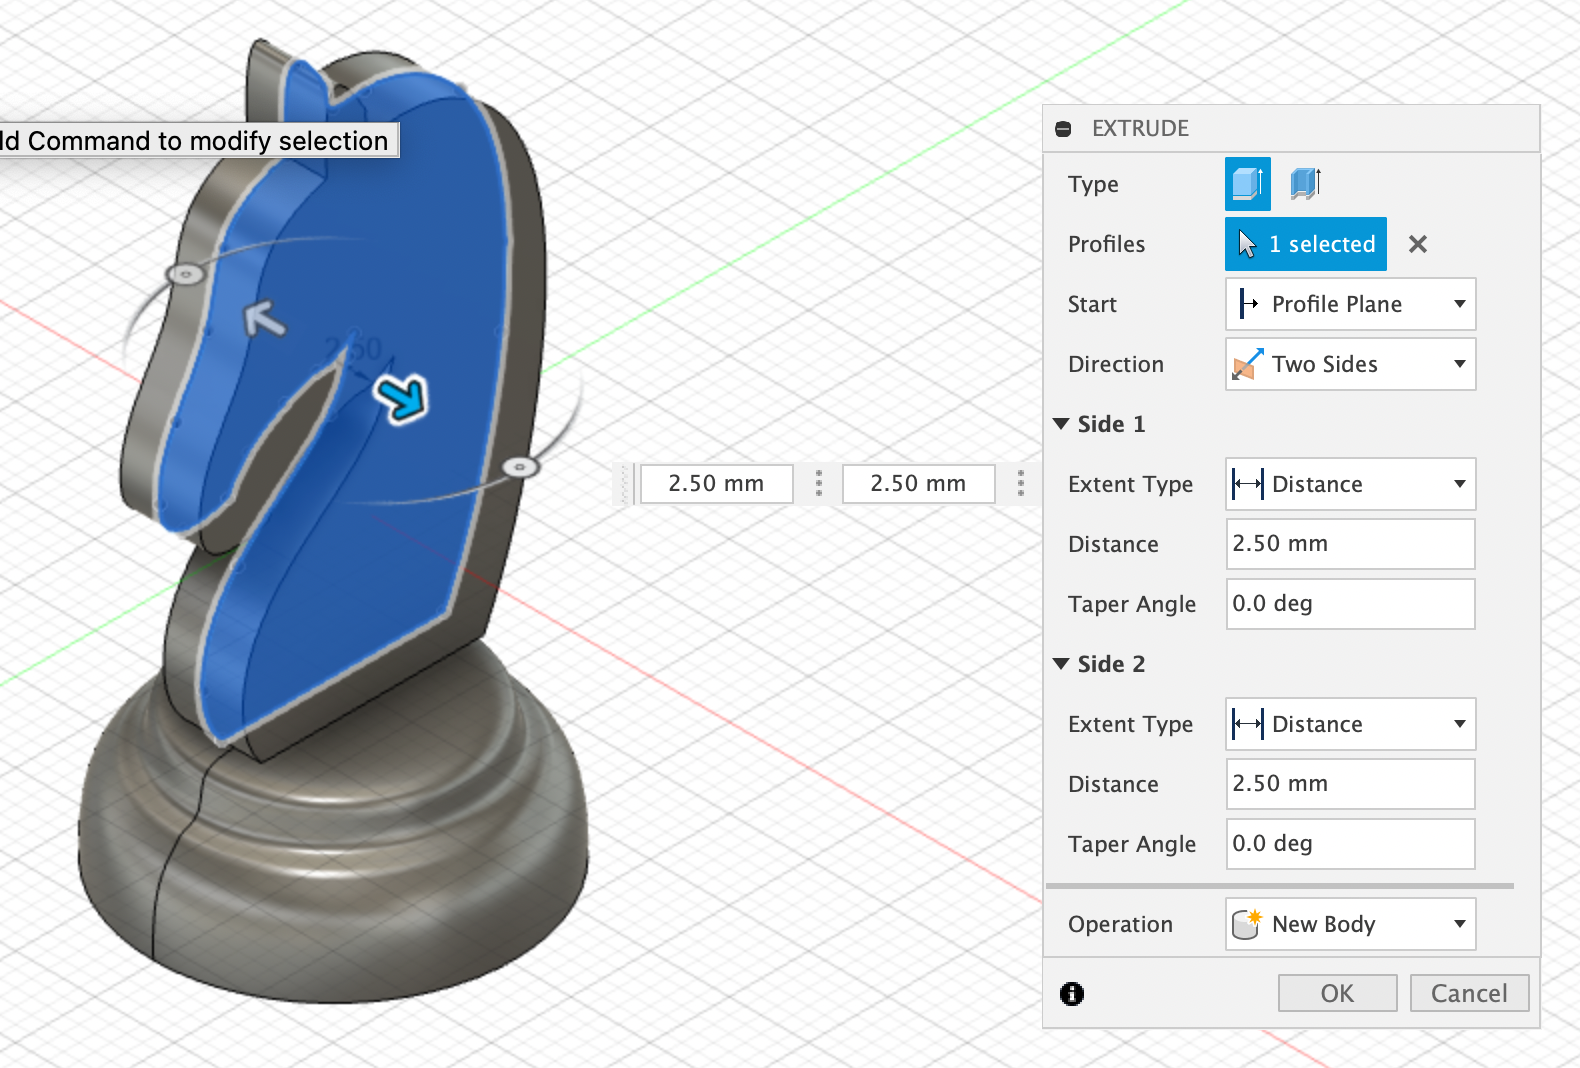
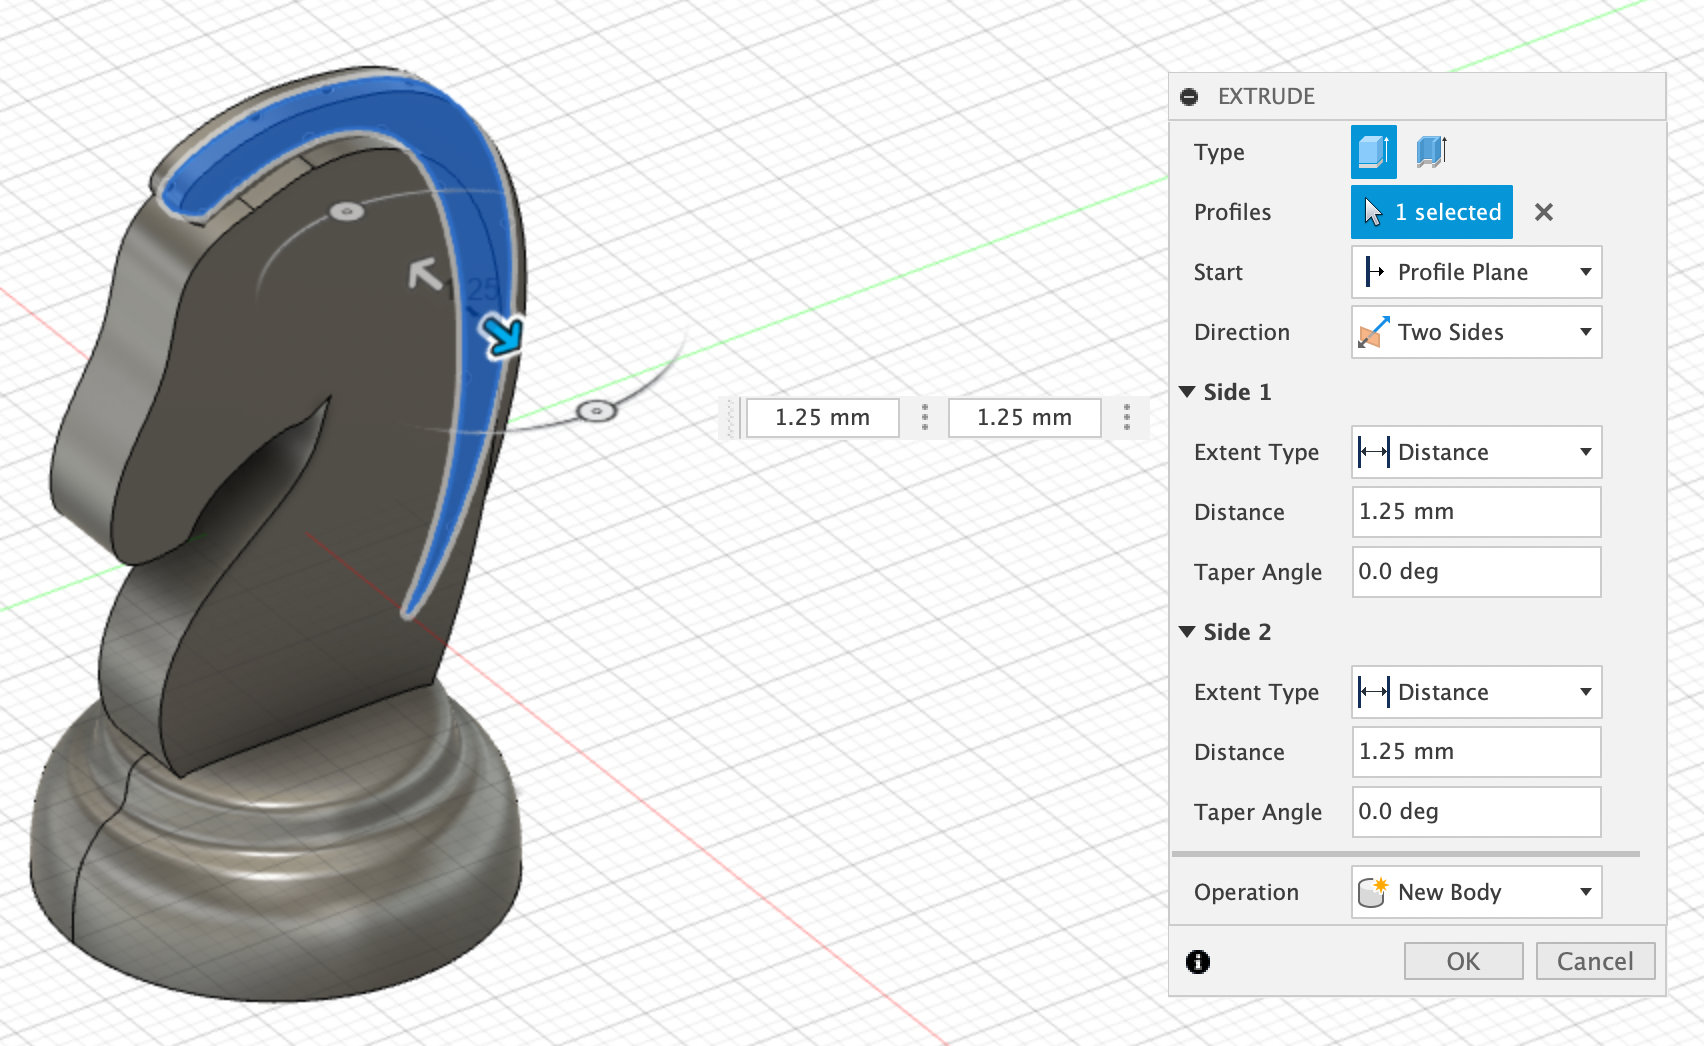
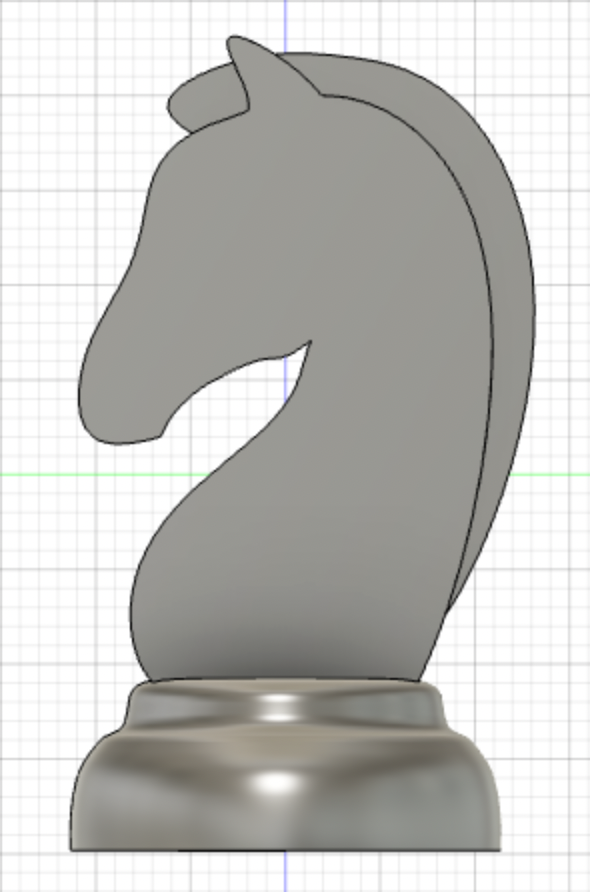
However, I also wanted to make it more detailed since it's only a solid block at the moment. In order to add the horse's mane and ears, I created a new sketch from the horse's body and traced the outline of the mane I wanted. Then I extruded it on both sides like I did with the horse shape, except this time by 1.25mm to make the thickness 2.5mm. At that point, the mane was positioned really awkwardly because of where the sketch was so I just moved it to a position I was satisfied with.
I followed the exact same process to make the horse's ears. I made a sketch of an ear, then extruded it by 1.25mm and moved it to where I wanted it to be. Then I copied and moved the ear to make the other ear. Then I merged everything into one body

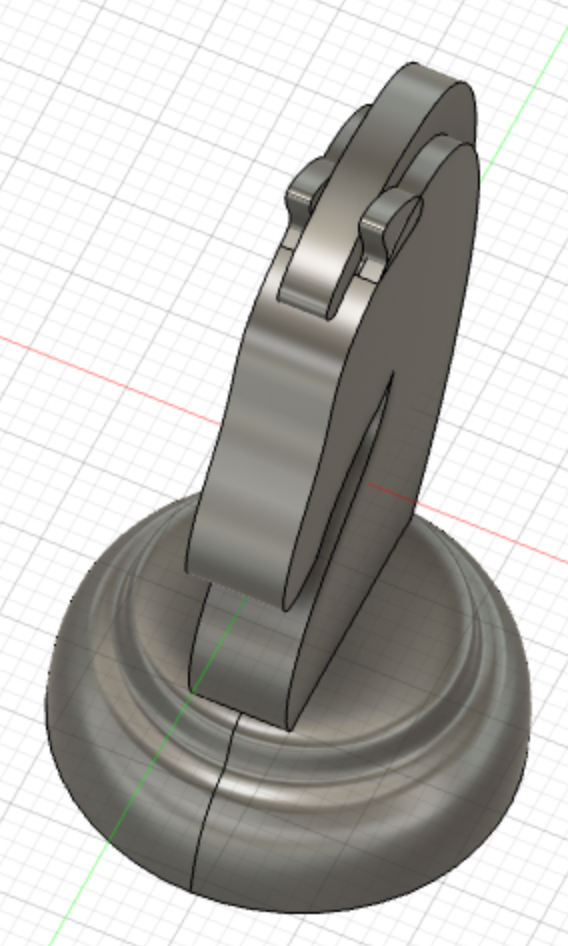
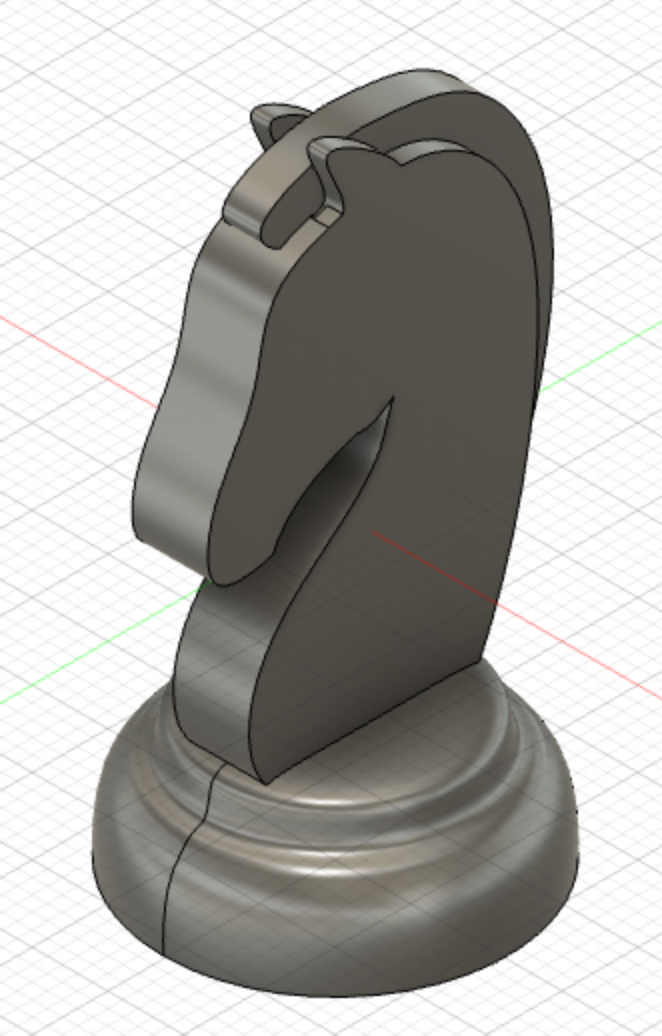
Thus completing my knight chess piece design!
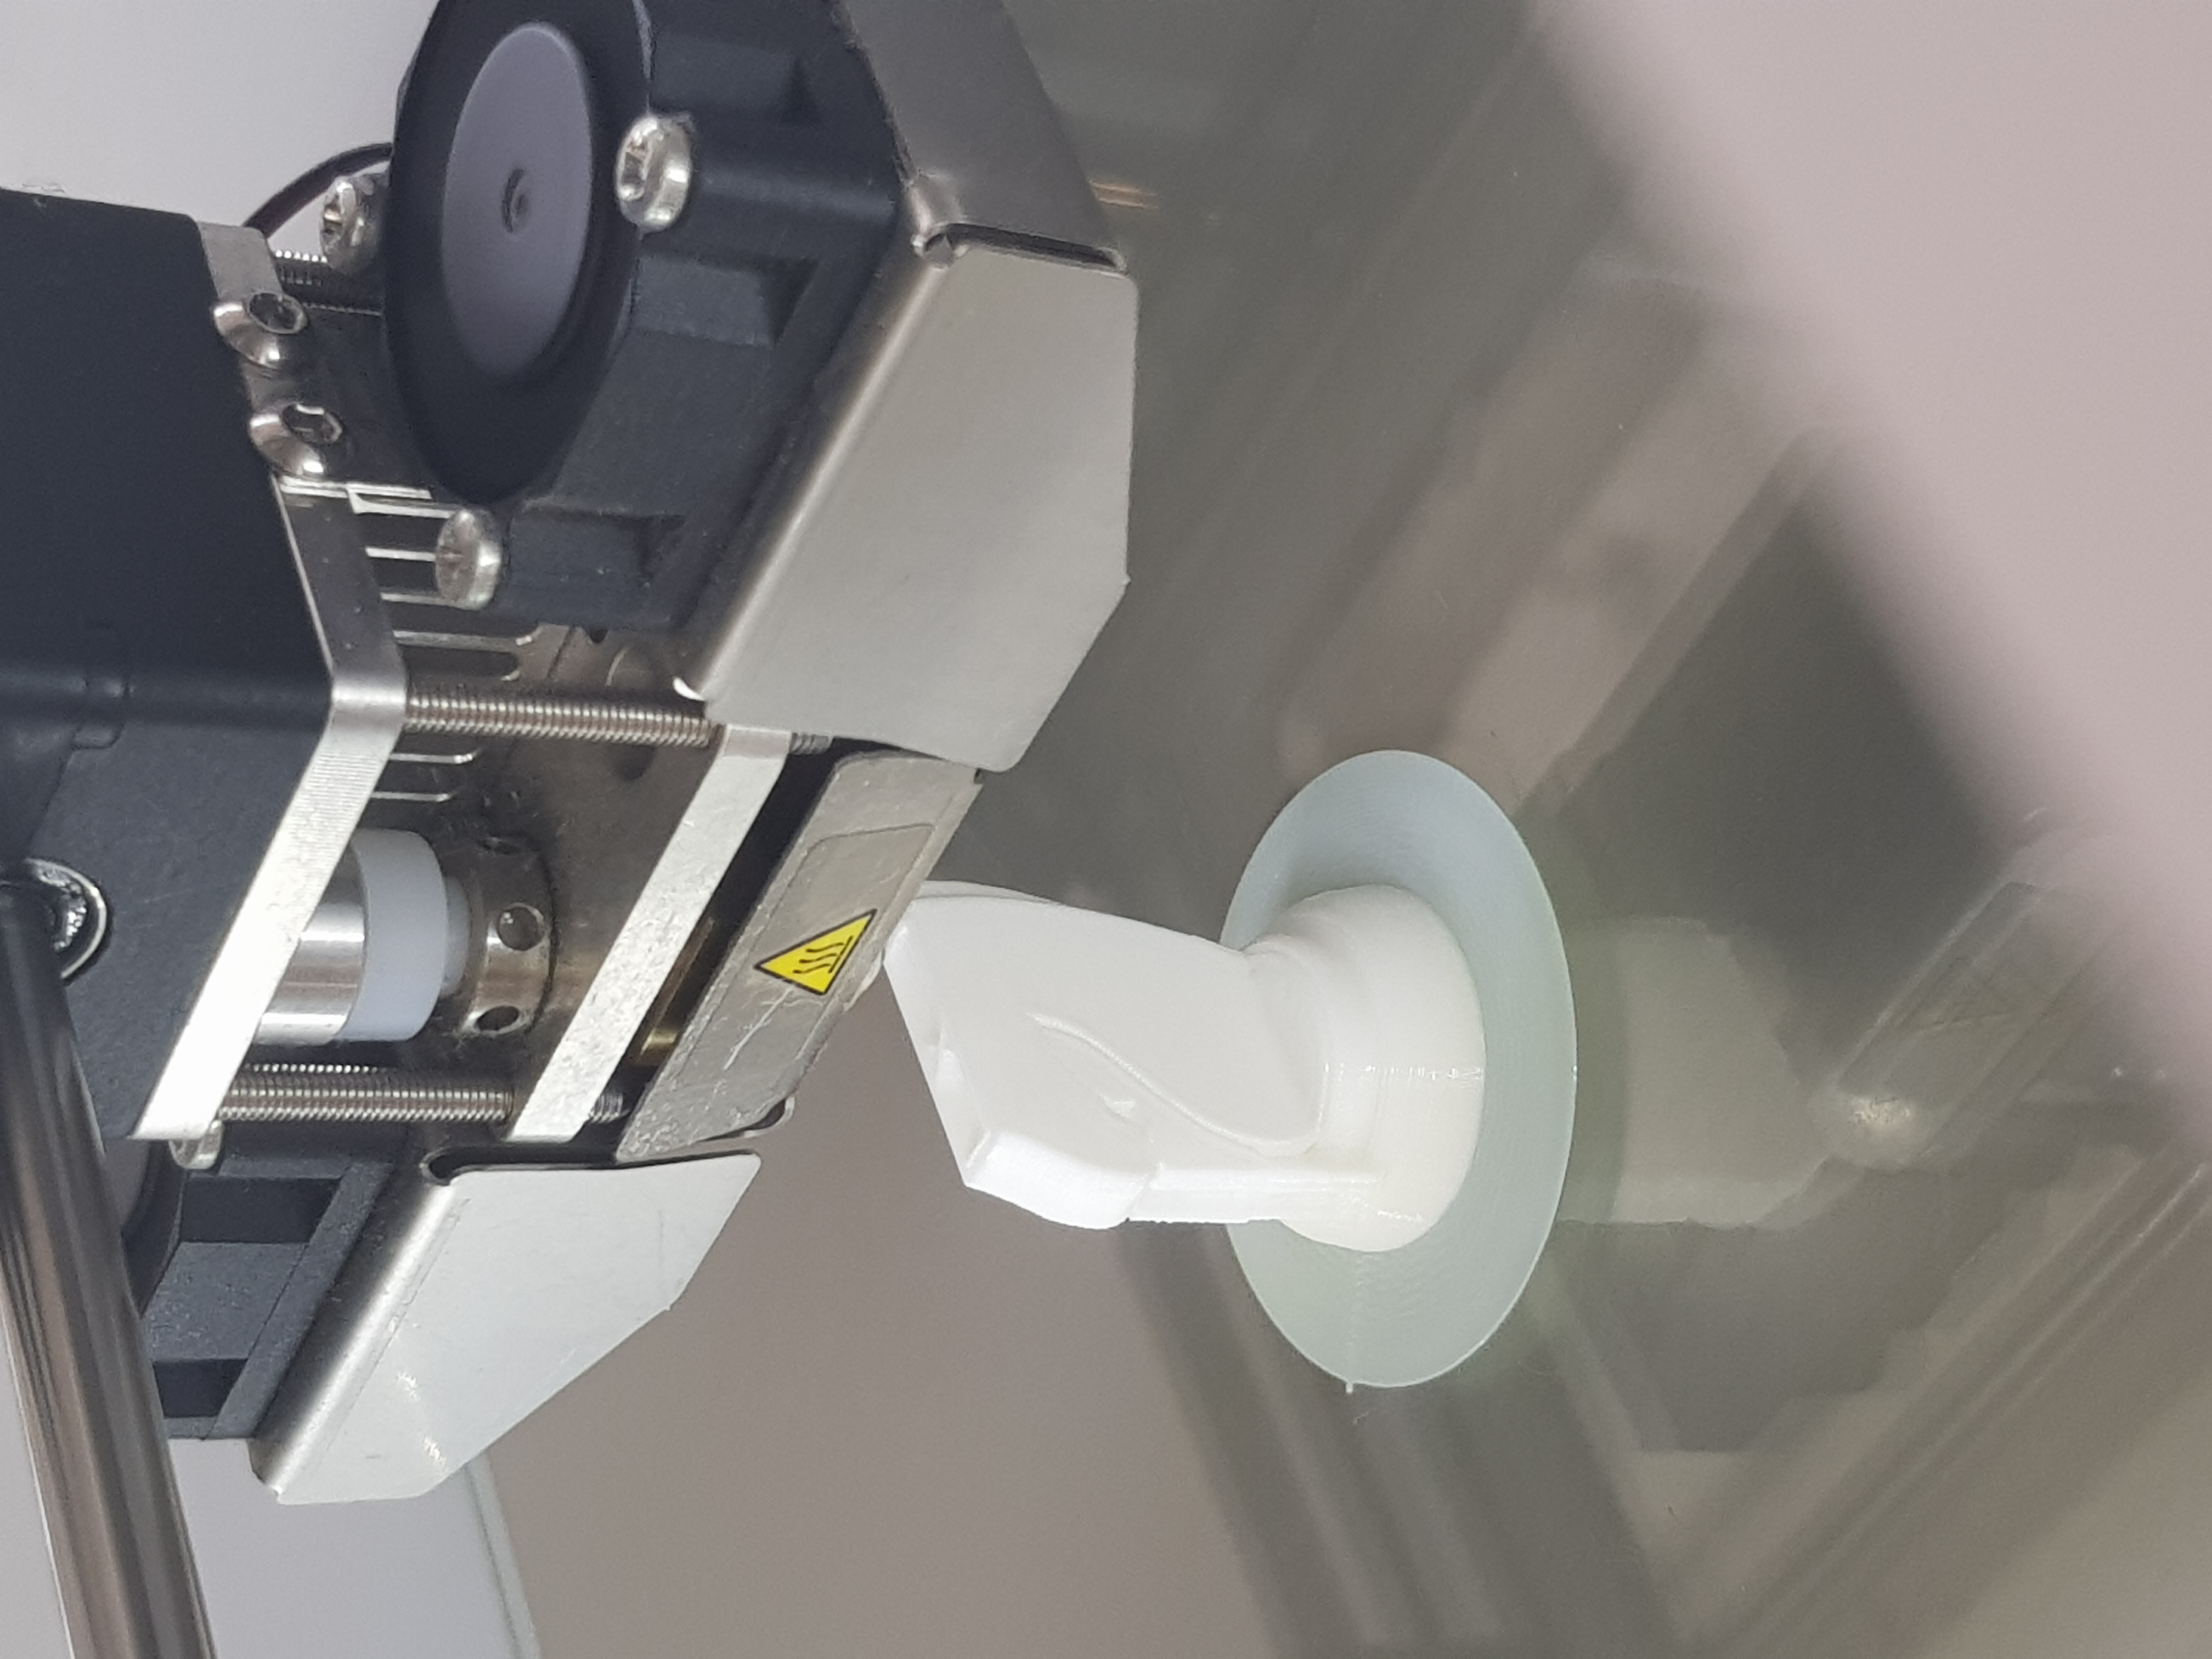
Now that I've finished designing my 3D chess piece, all that was left to do was to export it into Ultimaker Cura and send it to the 3D printer to be printed. In Ultimaker, I resized it to 4cm in height, added support, and then finally got it printed.
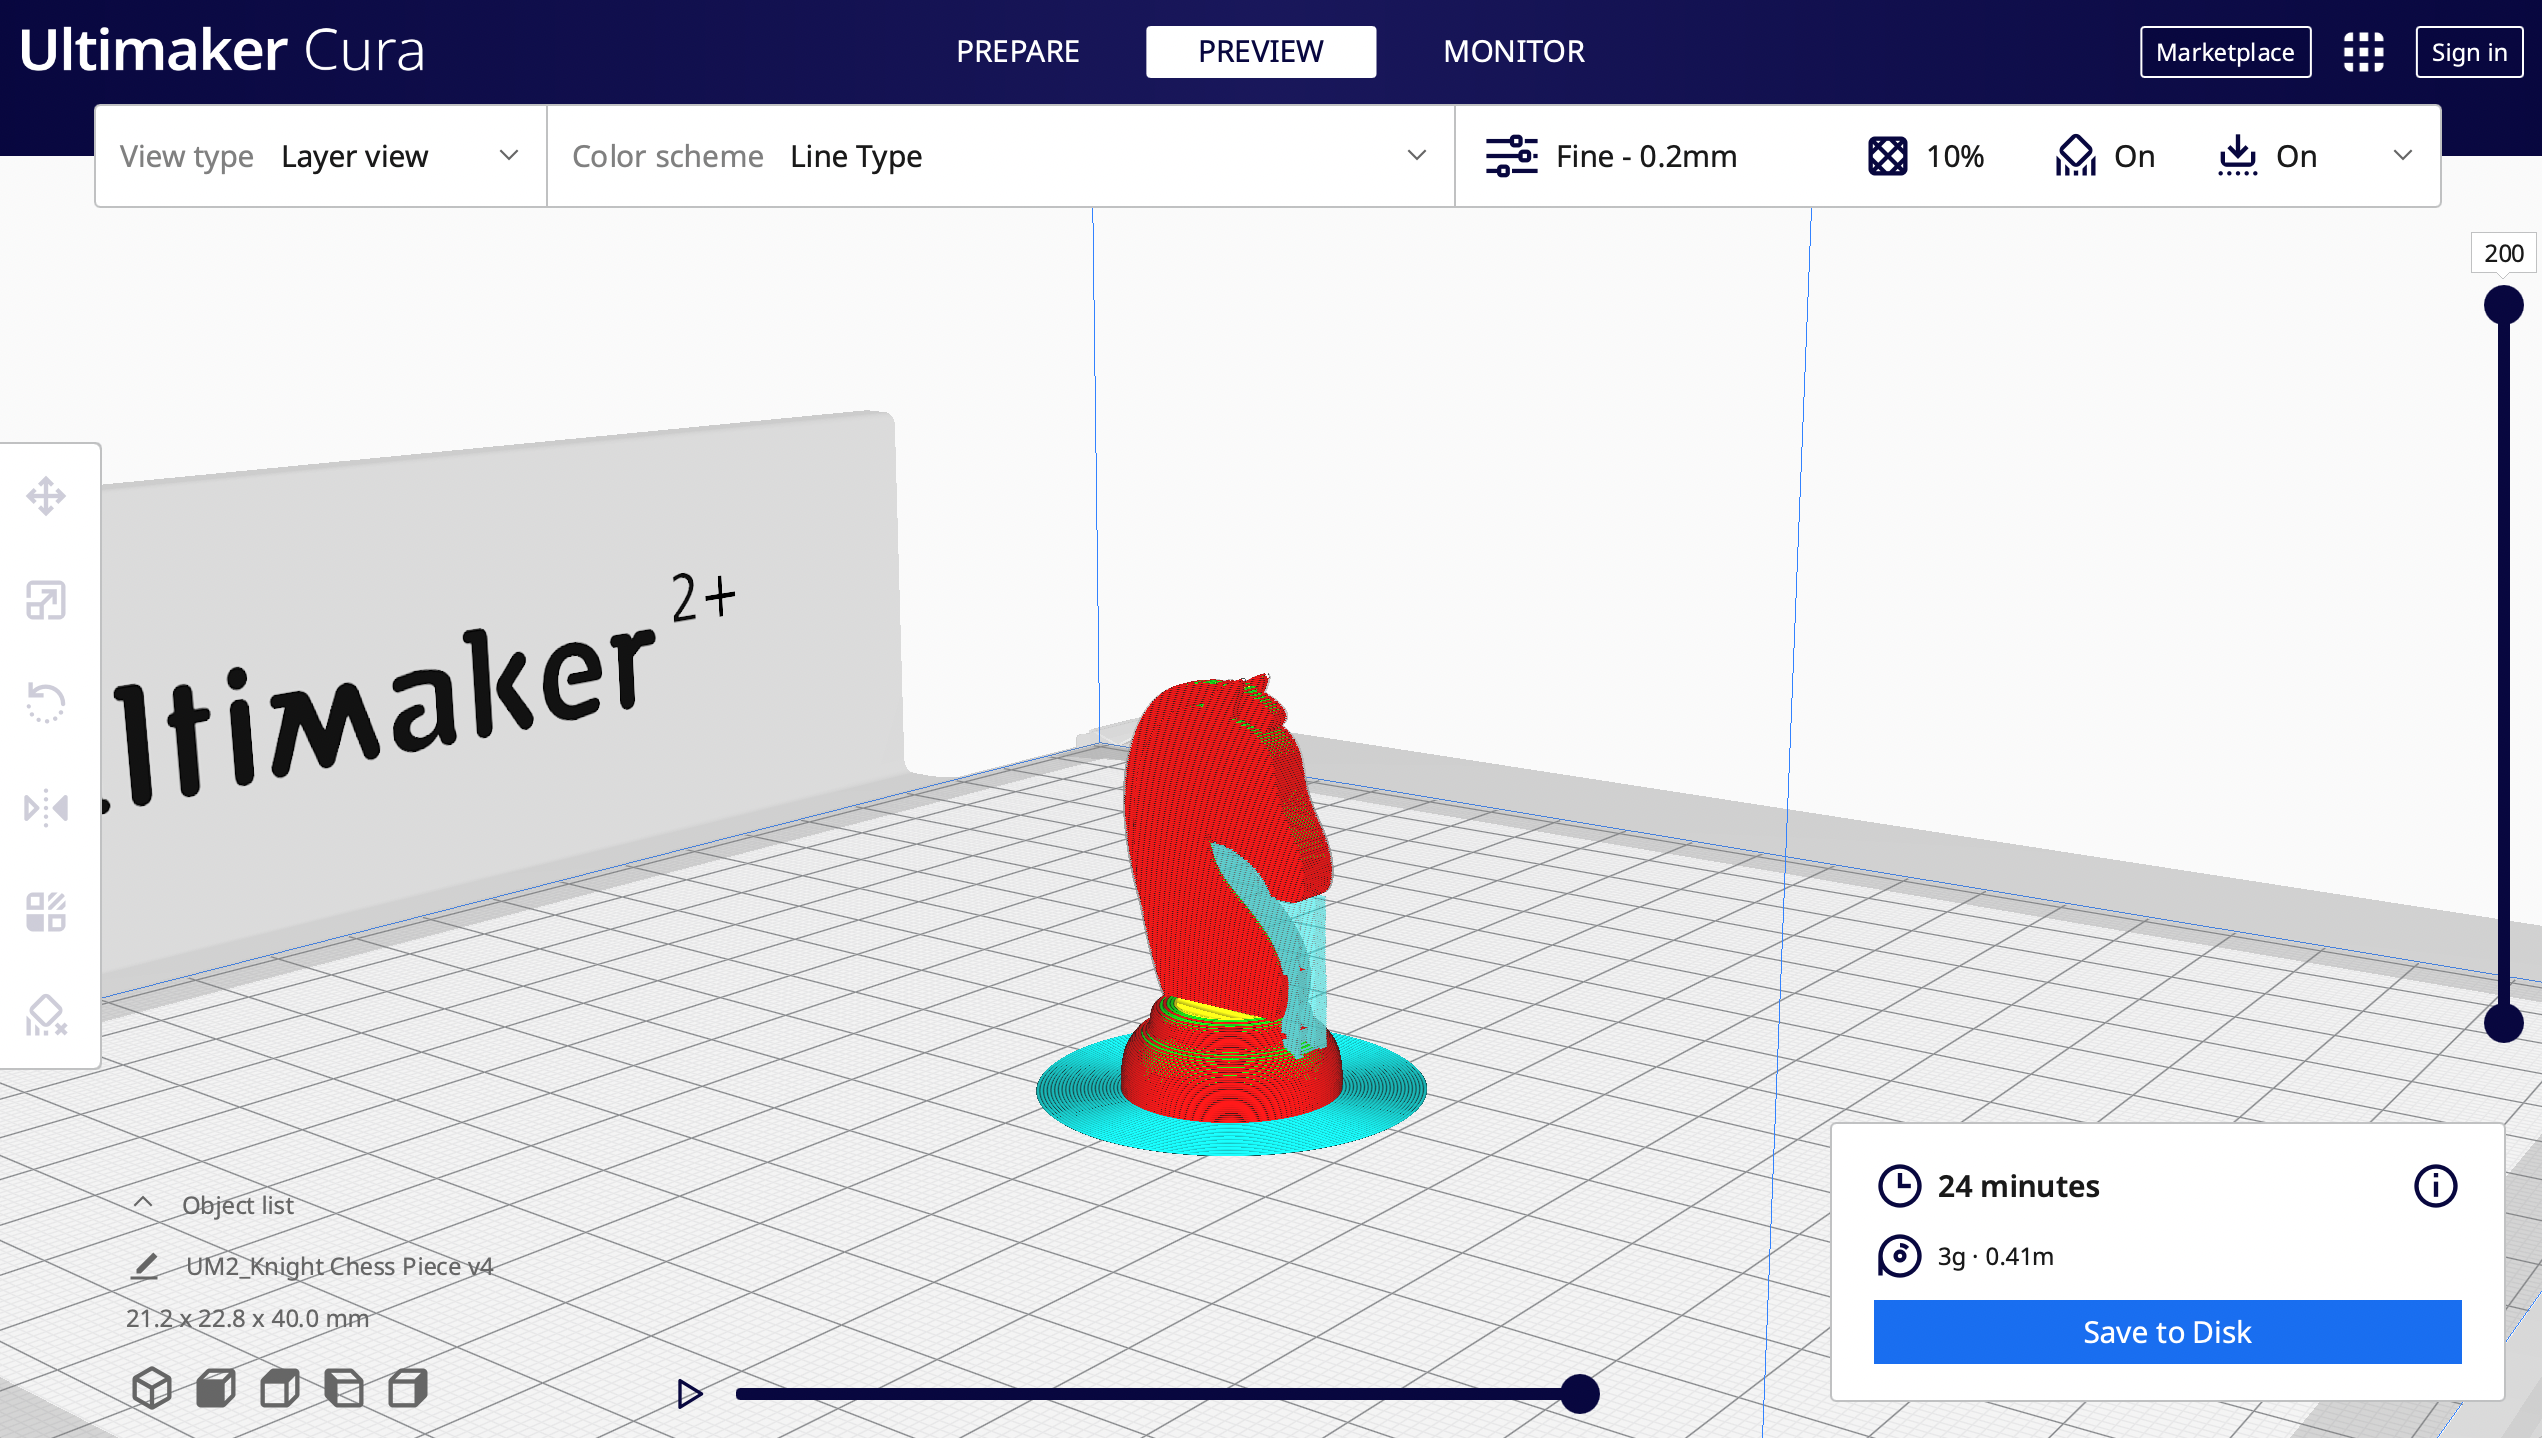
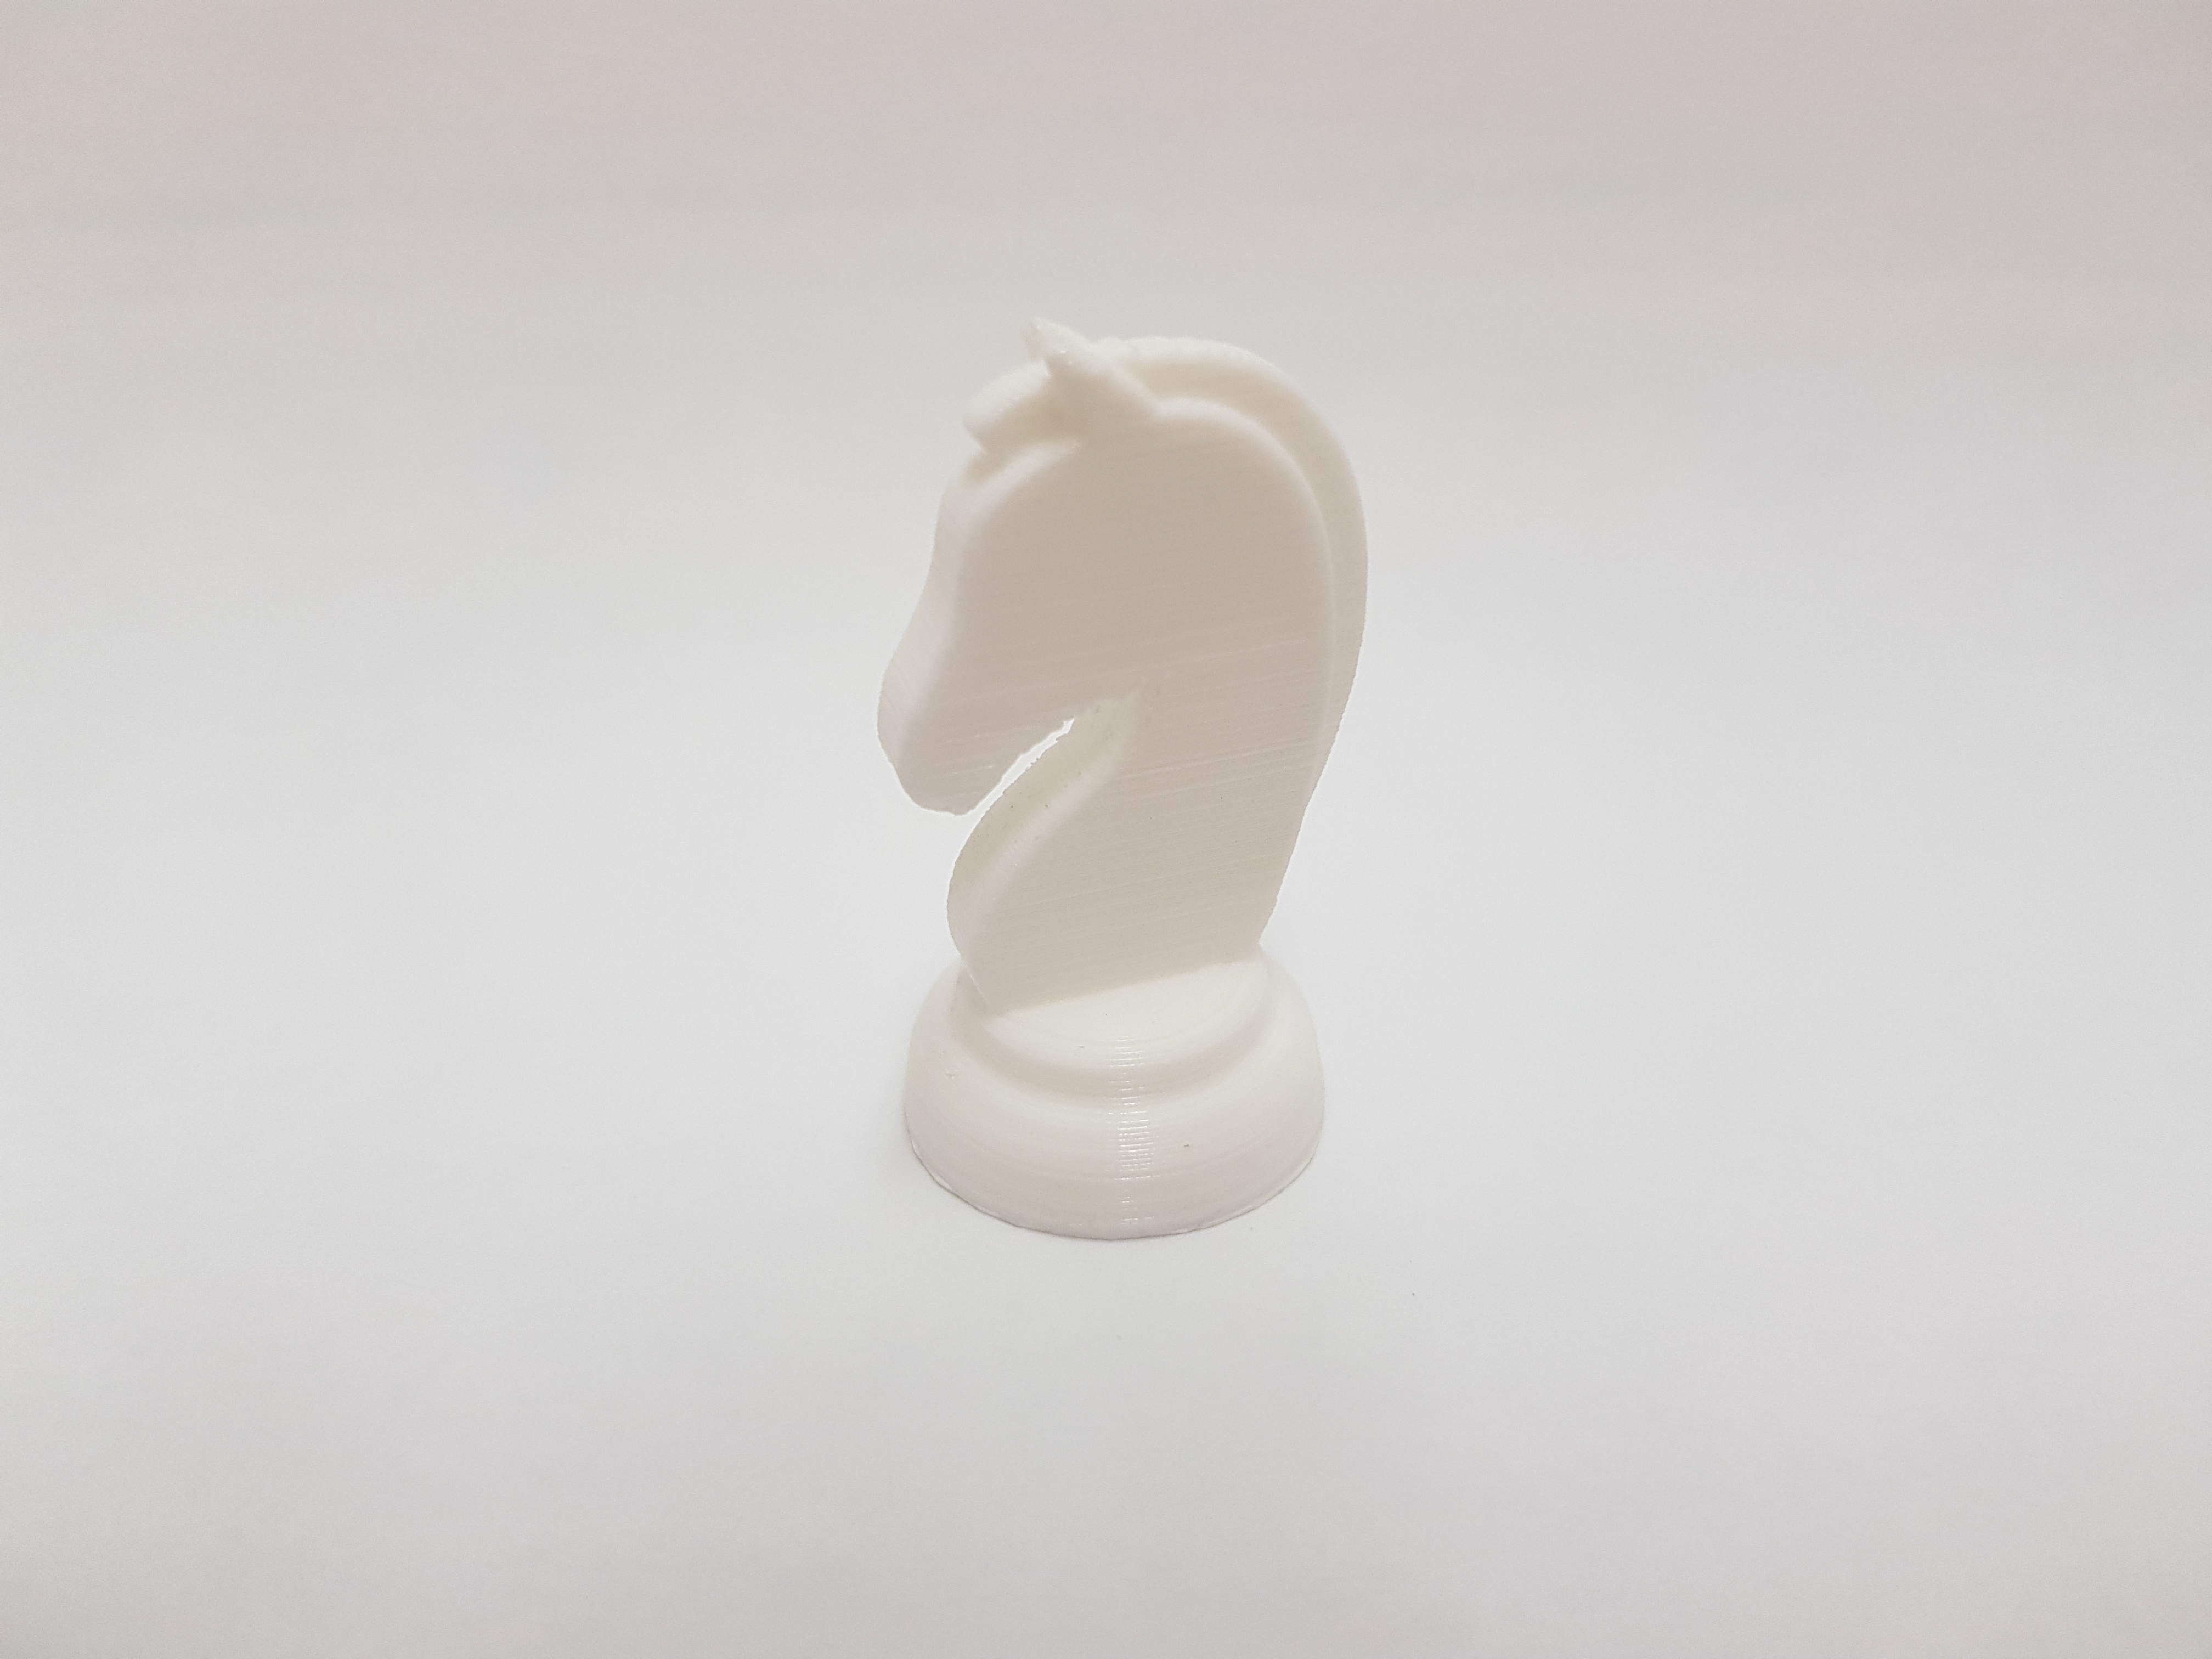
Knight chess piece printing:
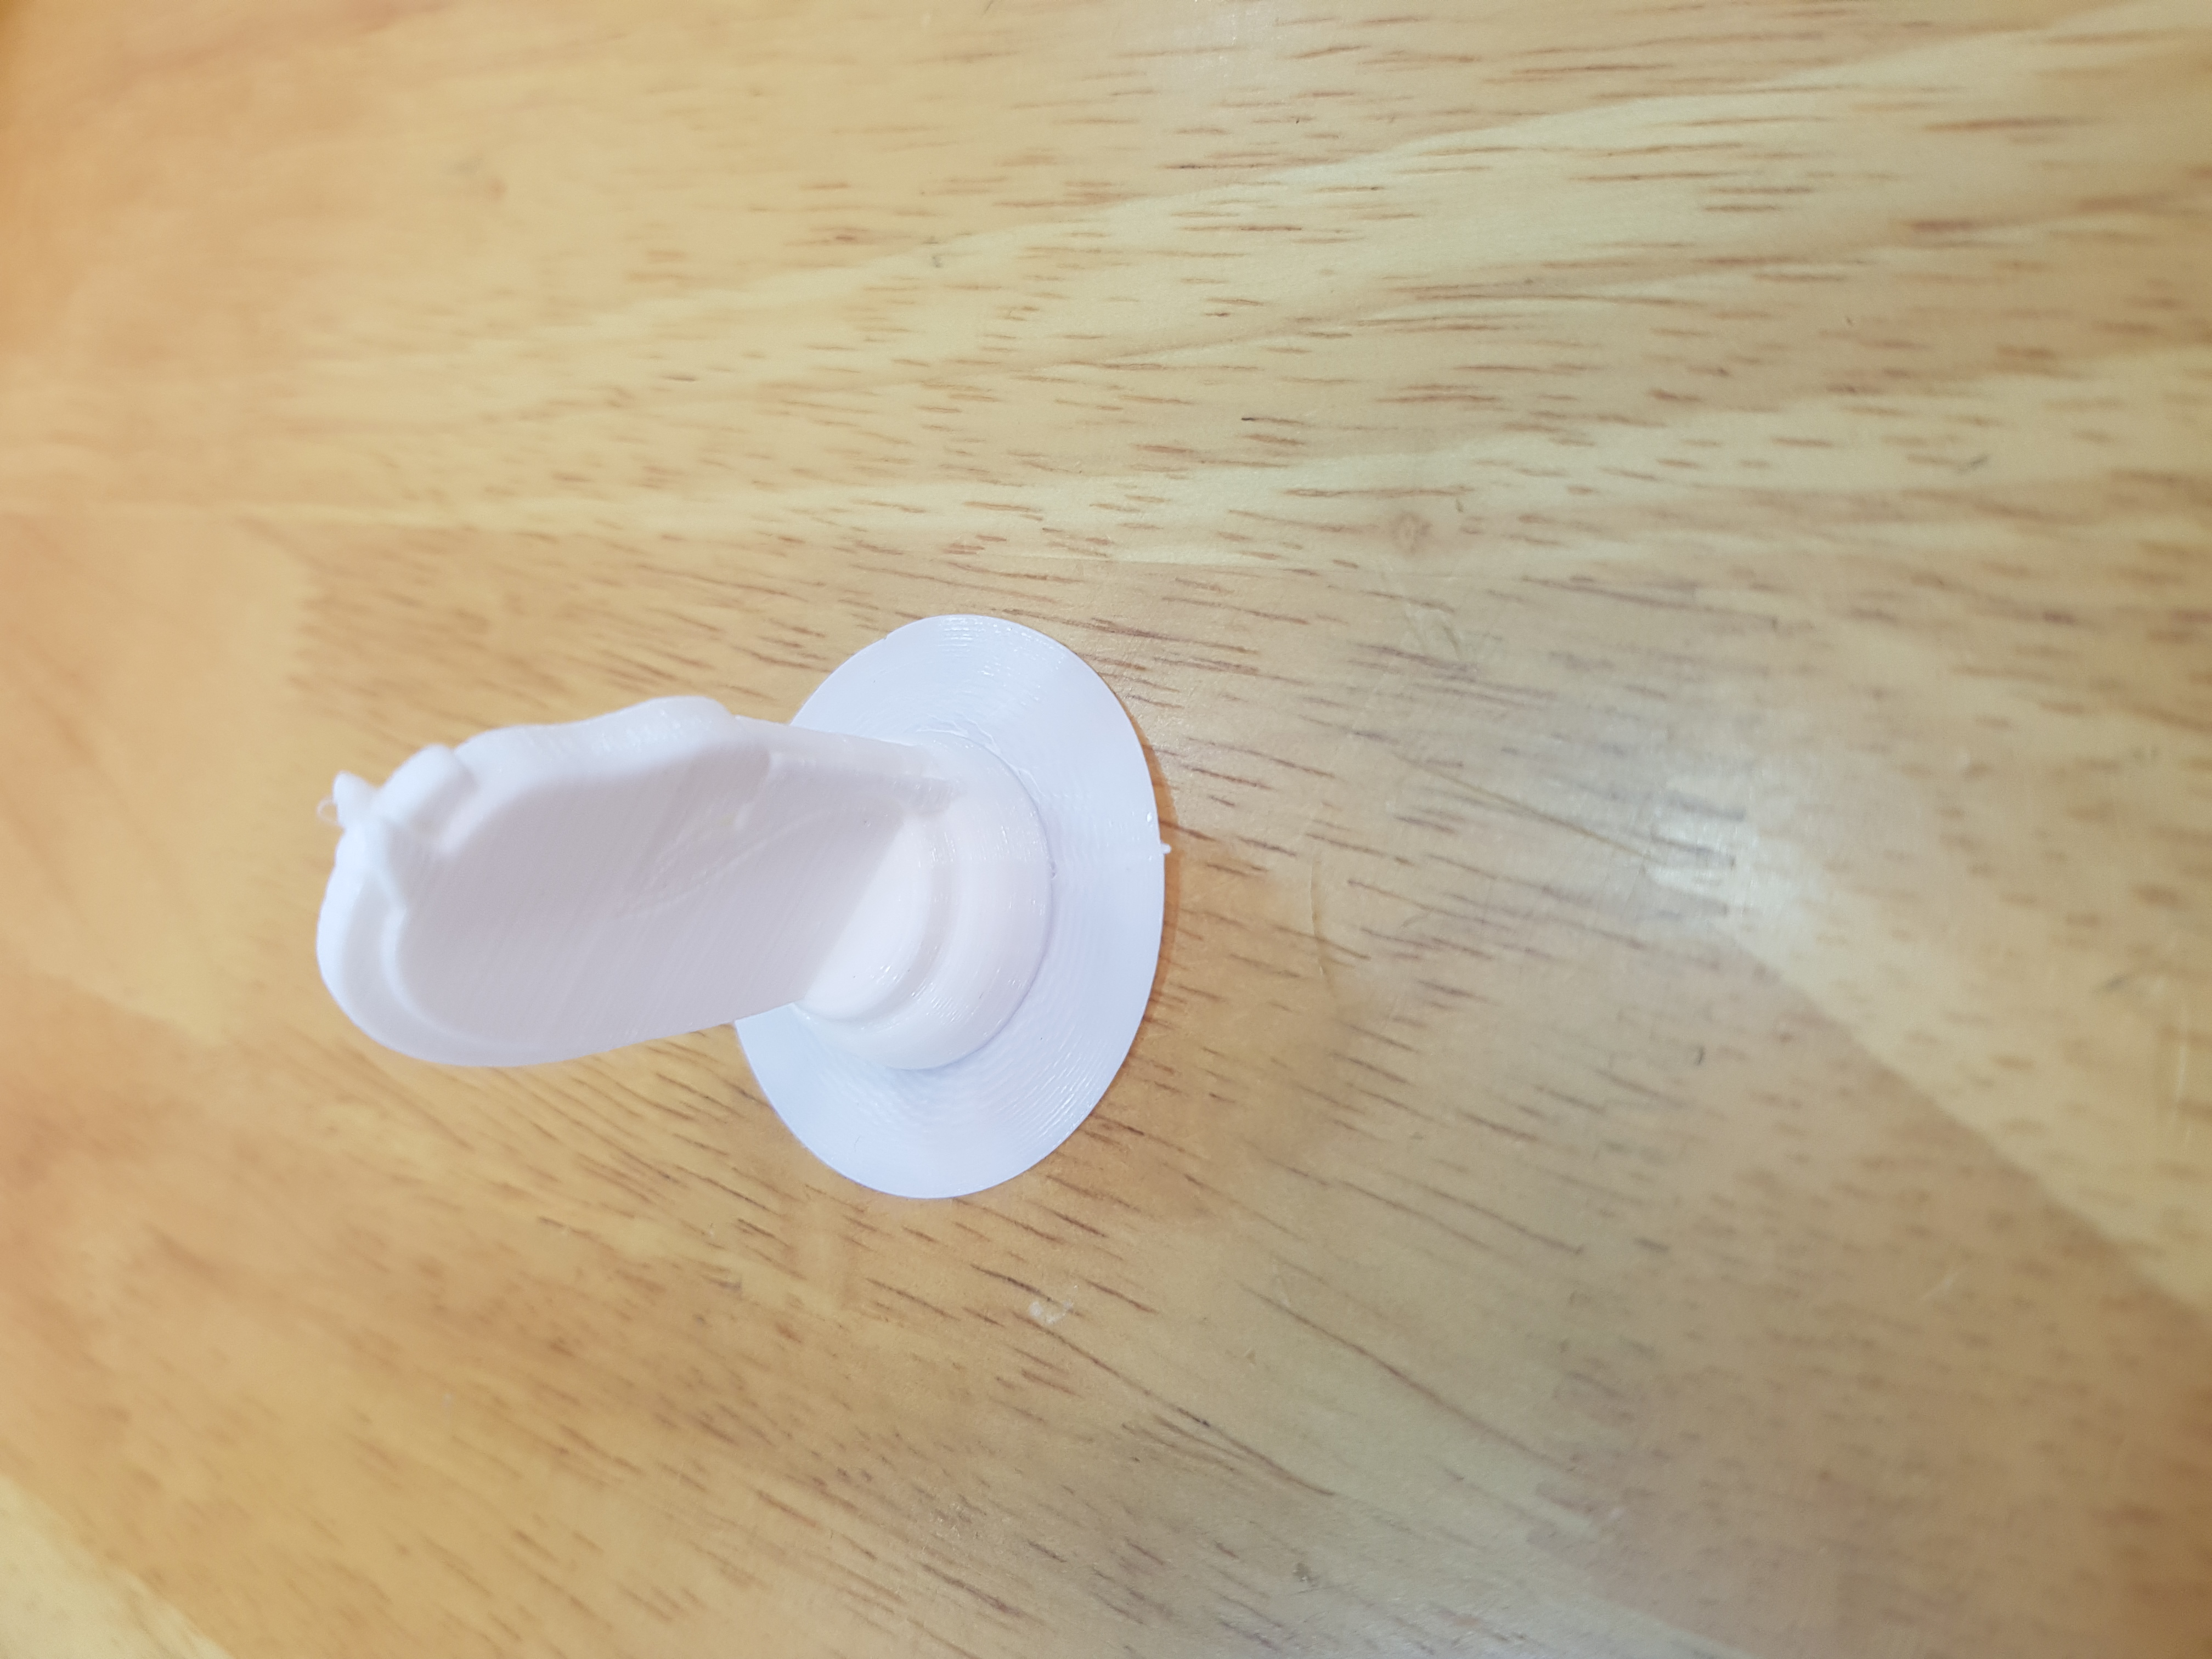
Finally finished!